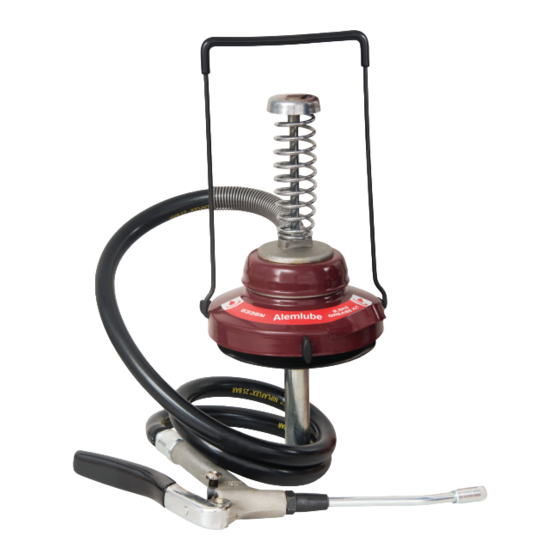
Alemlube 6336N Technisches Handbuch für den Eigentümer - Seite 3
Blättern Sie online oder laden Sie pdf Technisches Handbuch für den Eigentümer für Werkzeuge Alemlube 6336N herunter. Alemlube 6336N 6 Seiten. 2.5kg grease kit

Trouble Shooting for the Pump Kit of the 6336N
P
R
O
B
L
E
M
Rod cap rises slowly when the hand piece
is not in use (no visible external leakages)
Rod cap springs up and the unit will not
pump grease
Rod cap stays down. The 2.5kg grease
kit will not pump grease
Grease leaks at top of clamp nut (7)
Grease leaks at bottom of strainer cover
(11)
Grease leaks from under clamp nut (7)
NSW/ACT
TEL: (02) 9677 1555
TEL: (07) 3204 9166
FAX: (02) 9675 1155
FAX: (07) 3204 1224
Visit our website at
(a) dirt trapped between inlet ball (26)
and piston
(b) piston O'Ring (25) defective or worn
(a) air lock in grease caused by dent in
container stops follower damaged O'Ring
(21) in follower (20)
(b) grease container empty
(c) footvalve assy (19) faulty, holding
ball (18) off seat
(a) grade of grease too heavy
(b) strainer blocked
Gland O'Ring (96) and back up washer
(5) are defective or worn
(a) O'Ring (14) damaged
(b) Spot welds broken
(a) Dirt under clamp nut (7)
(b) Damaged seal washer (8)
QLD/PNG
VIC/TAS
TEL: (03) 8787 8288
FAX: (03) 8787 8266
www.alemlube.com.au
C
A
U
S
E
WA
TEL: (08) 9302 4199
FAX: (08) 9303 2095
Email - [email protected]
S
O
L
U
T
I
O
N
(a) unscrew clamp nut (7) and withdraw
assembly. Clean ball (26) and piston (10)
thoroughly. Reassemble
(b) replace piston O'Ring order
(6336N-6)
(a) remove dents or tilt follower plate
(20) under dent. Replace O'Ring (21) in
follower plate (20). Change over to new
container or refill with grease. Replace
with new assy 6336N-17-18-19 do not
attempt to rework this part.
(a) Use No. 2 grade of grease, or lighter.
Force out old grease.
(b) Unscrew clamp nut (7) and withdraw
assembly. Using a screwdriver, lever off
the strainer cover (11). Clean or replace
the strainer (13). see general instructions
below for cleaning technique.
Unscrew clamp nut (7) and withdraw
assembly. Hold piston (10) and loosen the
nut (27). Remove the pin (9) and withdraw
the piston (10). Ease spring tension on the
nut (27) by pushing against spring (92) on
clamp nut (7) and carefully undo nut (27).
Replace O'Ring (96) and back up washer
(5). Order (6336N-5). When re-assembling
support piston (10) when driving pin (9)
home, please ensure that the flat end of
spring (2) fits in the cap (1).
(a) Unscrew clamp nut (7) and withdraw
assembly. Using screwdriver, lever off
strainer cover (11) replace O'Ring Order
(6336N-14)
(b) Replace drum cover base (15).
(a)
Undo and clean surfaces
(b)
Replace seal washer. Order (6336N-8).
SA/NT
NZ
TEL: (08) 8241 7111
TEL: (09) 447 1007
FAX: (08) 8241 7011
FAX: (09) 447 1008
3
