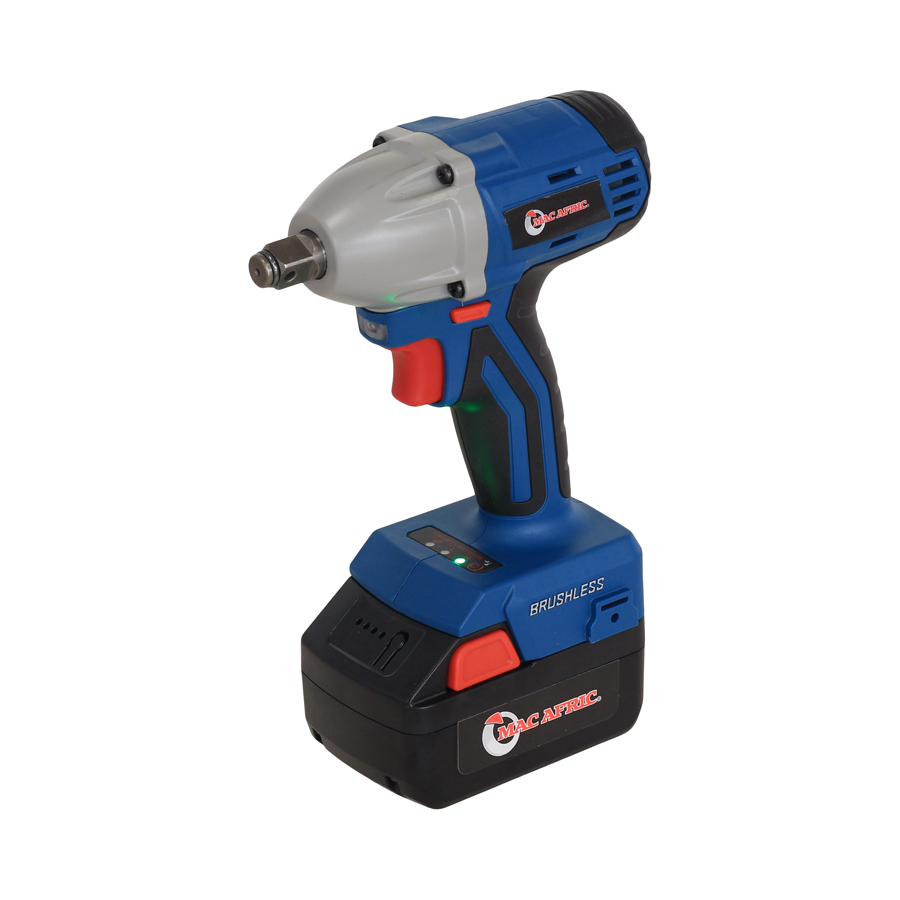
ADENDORFF MAC AFRIC SWRENC-001 Original Betriebsanleitung - Seite 7
Blättern Sie online oder laden Sie pdf Original Betriebsanleitung für Elektrowerkzeug ADENDORFF MAC AFRIC SWRENC-001 herunter. ADENDORFF MAC AFRIC SWRENC-001 11 Seiten.

When not operating the tool, always set the reversing switch lever to the center
position.
Never force to pull the switch trigger while the reversing switch lever is set at the
center position.
The reversing switch changes the directional rotation of the tool. When the reversing
switch lever is in the center position, the switch trigger cannot be pulled.
Right/Clockwise Rotation
For drilling and driving in screws, push the reversing switch lever from side B to side A for
right/clockwise rotation (viewed from the rear of the tool).
Left/Counterclockwise Rotation
For loosening or unscrewing screws, push the reversing switch lever from side A to side B for
left/counterclockwise rotation (viewed from the rear of the tool).
Setting Torque
The fastening torque can be adjusted in 3 steps. Press
the button
on the panel to set the torque among
step L, H and Smart-loosen. (Fig. 7)
Smart-loosen Step
Under this special smart-loosen step, setting the
reversing switch lever to counterclockwise position,
the tool can stop working once the screw is loosened
no matter if the trigger is released.
Step L
Press the trigger and run the tool at low speed. The maximum torque can reach 240 N·m in
average.
Step H
Press the trigger and run the tool at high speed. The maximum torque can reach 300 N·m in
average.
Installing/Removing the Battery
CAUTION:
Use specified battery only. Or there will be the danger
of explosion which may cause personal injuries.
To install/remove the battery, first set the reversing
switch lever to the center position to lock the trigger
switch.
To install, insert the battery all the way until it securely locks in place. Do not force the
battery in and hammer it in with other objects. (Fig. 8)
as direction ① and pull out the battery as
To remove the battery, press the unlocking buttons
direction ②. Do not exert any force. (Fig. 9)
Battery Indicator
CAUTION:
If overheat or overload occurs, the four lights will
flick. Re-switch on the tool after the temperature
return to normal or overload is removed.
Recent power of the battery will be indicated by the
battery indicator when pressing the switch trigger.
Four red LED lights are set to indicate the battery
power which can be referred to the following table.
(Fig. 10)
①
②
