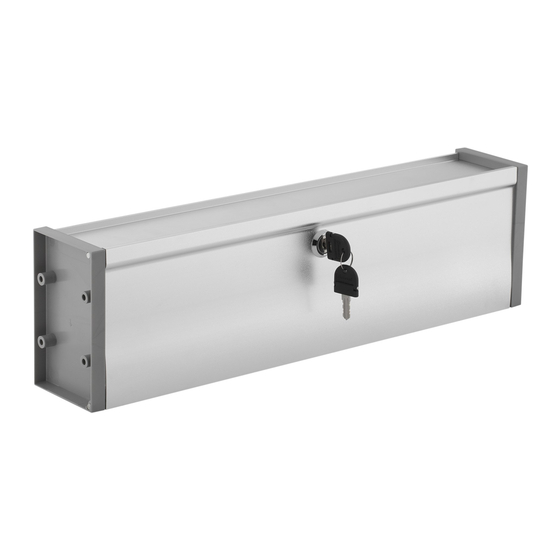
Kohler K-2659 Handbuch für Installation und Pflege - Seite 6
Blättern Sie online oder laden Sie pdf Handbuch für Installation und Pflege für Inneneinrichtung Kohler K-2659 herunter. Kohler K-2659 17 Seiten. Lockbox

Prepare las placas finales
Coloque cada placa final hacia abajo sobre una superficie plana con los salientes
de los estantes hacia arriba.
Parcialmente inserte las cuatro clavijas de fijación en cada placa final. No inserte
completamente las clavijas de fijación en este momento.
Inserte un pasador pivote en la esquina inferior de cada placa final hasta que
escuche un "clic" audible.
Inserte la clavija de tope en la esquina superior de una placa final hasta que la
ranura de la clavija de tope encaje en la placa final.
2.
Assemble the Lockbox
Cam/Came/Leva
Back View
Vue arrière
Vista posterior
Door/Porte/Puerte
Shelf Boss/Protubérance d'étagère/Saliente del estante
Place the end plate with the installed stop pin on a flat surface.
Align and insert the shelves into the shelf bosses of the end plate.
Position the cam on the lock assembly so it is parallel with the shelves.
Align the pivot hole on the side of the door with the pivot pin in the end plate,
then snap them together.
Align and insert the shelf bosses and pivot pin of the remaining end plate with
the shelves and door.
1128805-2-A
Pivot Pin Hole
Orifice de tige d'arrêt
Orificio para
el pasador pivote
Locking Pin
Goupille de verrouillage
Clavija de fijación
Stop Pin
Tige d'arrêt
Clavija de tope
6
Pivot Pin
Tige de rotation
Pasador pivote
Pivot Pin
Tige de rotation
Pasador pivote
End Plate
Plaque
d'extrémité
Placa final
Kohler Co.
