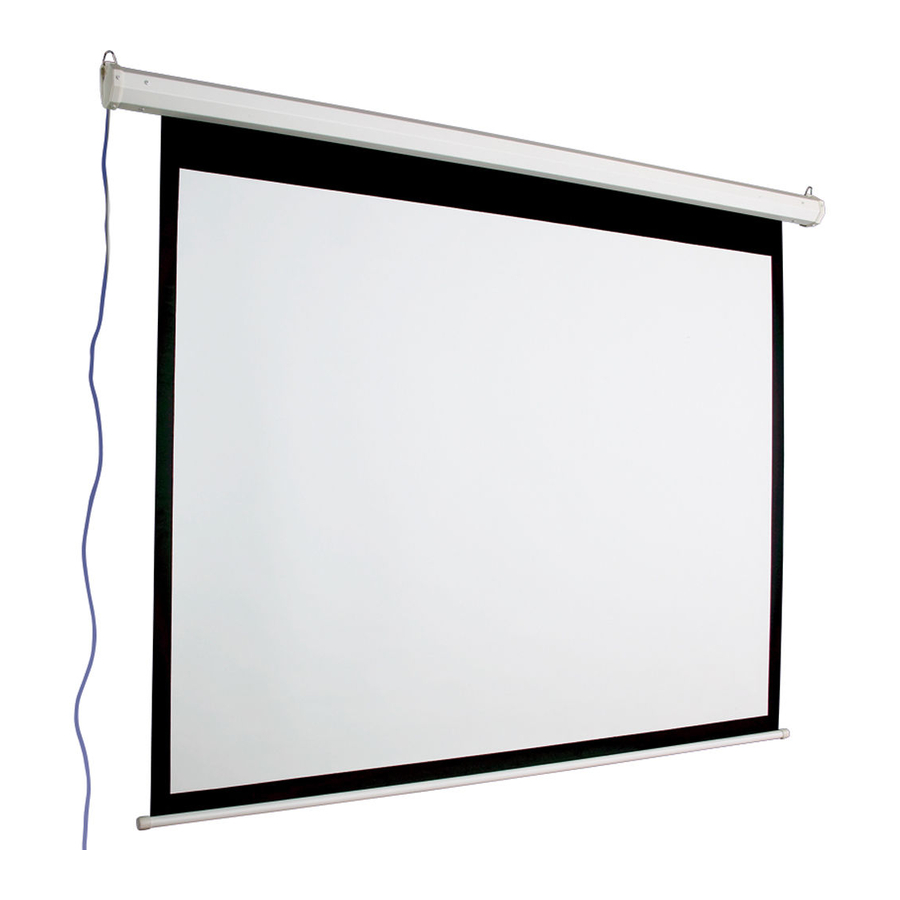
AccuScreens ELECTRIC SCREEN Betriebsanleitung - Seite 3
Blättern Sie online oder laden Sie pdf Betriebsanleitung für Projektionsfläche AccuScreens ELECTRIC SCREEN herunter. AccuScreens ELECTRIC SCREEN 8 Seiten. Automatic/electric wall/ceiling projection screens—110-120v ac
Auch für AccuScreens ELECTRIC SCREEN: Betriebsanleitung (12 seiten)

The screen can be operated by using the UP-STOP-DOWN buttons on the control box, by IR or RF
remote, or by optional IR wall switch. The control box has IR and RF built in and ready to operate.
Pressing the "Down" arrow will lower the screen into viewing position, where it will stop automatically ac-
cording to factory-set limits. Pressing the "Up" button will raise the viewing surface back into the screen
case, where it will stop automatically according to factory-set limits. The "Stop" button will stop the view-
ing surface at the current location.
The optional IR wall switch must be connected to the control box by running the data cable in through an
access hole and plugging it in to the IR wall switch input.
Tools needed: Flashlight, small fl athead screwdriver/Allen wrench (4mm or
The motor limits have been factory set and should not normally require further adjustment. However, if
Up
Down
Turning the socket counterclockwise will allow viewing surface to run farther down—do not adjust beyond
factory set down position.
Adjusting "Up" Limit Switch: Up stopping position can be adjusted by turning the socket with a
screwdriver or hex wrench. Turning socket counterclockwise will allow viewing surface to run farther into
the screen case. Turning the socket clockwise will allow viewing surface to stop farther out of the screen
case.
CAUTION: Always be prepared to shut screen off manually when new adjustment is being
tested. Screen may be severely damaged if viewing surface is allowed to run too far up or too far
down.
7
3
/
"
8
(98.5 mm)
1. Examine surface to be sure it is free of insects, dirt or foreign matter before rolling into case.
2. Screen may be operated as frequently as necessary but should not be run up and down continuously.
To do so will cause the motor to overheat and thermal overload to cut out; it will be necessary to wait
for the motor to cool suffi ciently to resume operation.
3. Motor does not require any lubrication.
Clean surface with a solution of mild dishwashing liquid diluted with warm water. A 50/50 mix of Simple
Green
®
All- Purpose Cleaner and water may also be used. Using a soft, disposable cloth, gently wipe the
surface, completely rinse the entire surface with clear water and blot dry. Do not allow any cleaner to be
absorbed by the fabric. Do not use clean ing solvents or abrasives. Do not use A
Operating Screen
Limit Adjustments
you desire to change the stopping positions, proceed as follows.
There are two limit switches (hexagonal sockets) located at the end
of the roller (same side as power cord). The "Down" limit is the socket
towards the back of the screen case and is accessible by removing
the plastic plug on the back of the case. The "Up" limit is the socket
towards the front of the screen case and is accessible through the
case opening for the surface.
Adjusting "Down" Limit Switch: Down stopping position can be
adjusted by turning the socket with a screwdriver or hex wrench.
Turning clockwise will reduce the amount of exposed viewing surface.
Dimensions
3"
(76
mm)
3¼"
(83 mm)
Care of Screens
Cleaning of White Viewing Surfaces
Fabric width + 10" (25.4 cm)
Viewing
Surface
5
/
").
32
A
®
.
RMOR
LL
3
