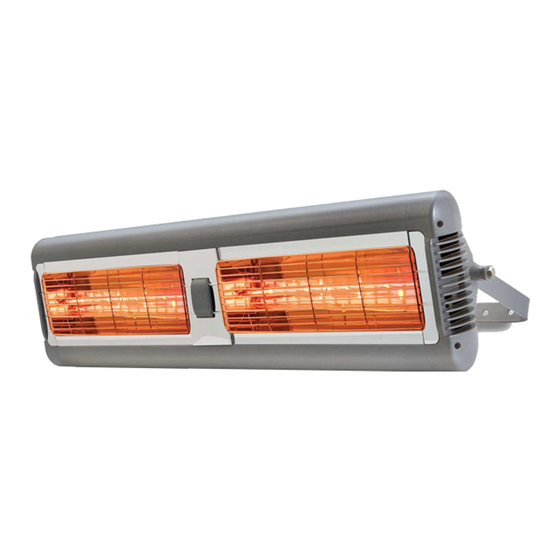
Ambirad Apollo QHL 45-1 Gebrauchsanweisung - Seite 12
Blättern Sie online oder laden Sie pdf Gebrauchsanweisung für Heizgerät Ambirad Apollo QHL 45-1 herunter. Ambirad Apollo QHL 45-1 20 Seiten. Quartz glow instant infra-red heaters

2. Assembly Instructions.
PLEASE READ this section prior to
assembly to familiarise yourself with the
components and tools you require at the
various stages of assembly. Carefully open the
packaging and check the contents against the
parts and check list.
The manufacturer reserves the right to alter
specifications without prior notice.
2.1
Tools Required.
The following tools and equipment are advisable
to complete the tasks laid out in this manual.
Leather
Faced
Gloves
2.2
Apollo range:
Unitary Apollo heaters are supplied as a
complete unit. No assembly is required
2.3
Sorrento range:
Unitary Sorrento heaters are supplied as a
complete unit. No assembly is required
Joining singular heaters together.
The Sorrento heater can be joined to other
Sorrento heaters using joining bars (option).
Refer to section 1.3 for max number of heaters.
Assembling two singular heaters together
1. Take the first heater and place it face down
on a flat surface.
2. Take the second heater and place it face
down and positioned parallel to the first
heater.
3. Push the M8 bolts (used to hold the wall
brackets through the hole in the brackets on
the rear heaters and slide a shake-proof
washer on all the threads from the protruding
side.
4. Slide the joining bars on each bolt and fit a
washer and nut – do not fully tighten at this
point.
5. Ensure the second heater is still parallel to
the first and sitting flat.
6. Slide the joining bars on each protruding bolt
of the other heater to connect them together
and fit the washers and nuts.
7. Again, ensuring the heaters remain flat, fully
tighten all four nuts to secure the joining bars
in place.
Please ensure that all packaging is
disposed of in a safe environmentally
friendly way.
For your own safety we recommend the
use of safety boots and leather faced
gloves when handling sharp or heavy items. The
use
recommended.
Suitable alternative tools may be used.
Pozidrive
Screwdriver
Assembling three singular heaters together
1. Take the first heater and lie it face down on a
flat surface.
2. Take the second and third heaters and
position them face down and parallel to the
first.
3. Push the M8 bolts (used to hold the wall
brackets through the hole in the brackets on
the rear heaters and slide a shakeproof
washer
protruding side.
4. Slide the joining bars on each bolt and fit a
washer and nut – do not fully tighten at this
point.
5. Position the second heater so it's parallel to
the first and sitting flat.
6. Take the third heater and a joining bar. Push
a bolt and washer through the end hole and
place a serrated washer on the other side.
Push the bolt through the bracket hole on
heater. Repeat on opposite side and secure
with a washer and nut – do not fully tighten
at this point.
7. Position the third heater so it's parallel to the
second.
8. Line-up the bars of the first heater with the
brackets of the second heater – they should
go on the inside faces like heater one.
9. Line-up the bars of the third heater with the
brackets of the second heater – these
should go on the outside faces like heater
three.
10. Push a bolt from the back of the joining bars
through the holes putting a serrated washer
on each side of the heater bracket.
11. Fit a washer and nut to both sides and
providing the assembly is sitting flat, fully
tighten both sides and also the nuts of the
first and third heaters to the joining bars.
of
protective
eye
Spanner
Set
on
all
the
threads
wear
is
also
Tape
Measure
from
the
