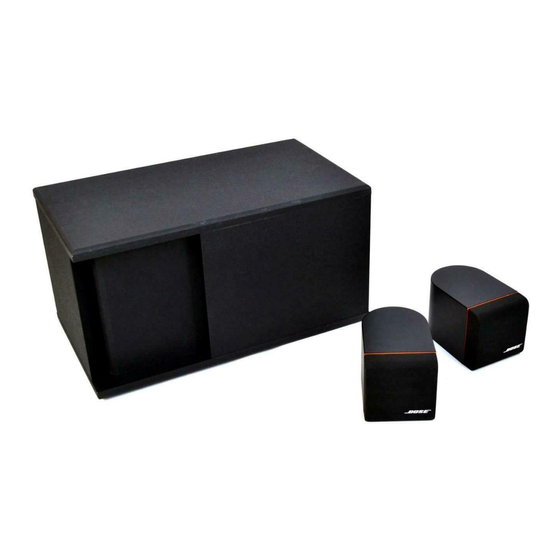
Bose Acoustimass 3 Series Manual - Página 16
Navegue en línea o descargue pdf Manual para Altavoces Bose Acoustimass 3 Series. Bose Acoustimass 3 Series 43 páginas. Powered speaker system
También para Bose Acoustimass 3 Series: Manual del usuario (17 páginas), Manual del usuario (10 páginas), Manual de servicio (42 páginas)

D. Secure the cup to the module with 2 screws
(10).
NOTE: If no further servicing of the unit is
required, refer to the simplified steps provided in
Procedure 10 to reassemble the unit.
13. Woofer Removal
NOTE: If direct access to the woofer is required
and the unit has not already been disassembled,
use the following simplified steps A-D.
A. Remove the cover (3) using Procedure 1.
B. Remove the Main PCB (5), heatsink (9) and
adapter bracket (8) using Procedure 7, steps C
and D.
C. Lift up the Amplifier PCB (11) and unhook the
safety controlled woofer cable (24) from the J4
connector (Amplifier PCB).
D. Remove the transformer cup (19) and gasket
(20) using Procedure 11.
E. Remove 4 screws (22) that secure the woofer
(21) to the baffle (part of the module). See
Figure 7.
14. Woofer Replacement
NOTE: Refer to Figure 7 for an exploded view.
A. Carefully lift the woofer out and cut the wires
connected to the woofer terminals as close to the
terminals as possible.
NOTE: Make a note of the woofer terminal
orientation relative to the module. The woofer
should be repositioned in it's original location.
B. Strip the wires and connect to a replacement
woofer. Make sure that the red wire is connected
to the positive (+) terminal and the black wire is
connected to the negative (-) terminal. When
repositioning the woofer, make sure that the
woofer gasket (23) is correctly positioned behind
the woofer to make an airtight seal.
C. Remount the woofer (21) to the module using
4 screws (22). Repeat the woofer test
procedures.
NOTE: If no further servicing of the unit is
required, use the following simplified procedures
to reassemble the unit.
D. Replace the transformer cup (19) and gasket
(20) using Procedure 12.
E. Replace the transformer assembly (18) using
Procedure 10.
F. Reinstall the Amplifier PCB (11) using
Procedure 8.
G. Reinstall the heatsink (9) and adapter bracket
(8) using Procedure 6.
H. Reinstall the Main PCB (5) using Procedure
4.
I. Replace the cover (3) using Procedure 2.
Satellite Procedures
NOTE: Refer to Figure 8, page 30 for an
exploded view of the satellite. Numbers in
parentheses reference the individual parts
displayed in this figure.
1. Grille Removal
Hold the satellite enclosure (5) with one hand.
Use your other hand to squeeze and pull the
grille assembly (1) away from the satellite
enclosure.
2. Grille Replacement
Align the grille assembly so that the curved
edges are at the top and bottom of the enclosure.
The nameplate (7) should be at the bottom right
corner of the enclosure. Snap the grille gently
into place.
16
