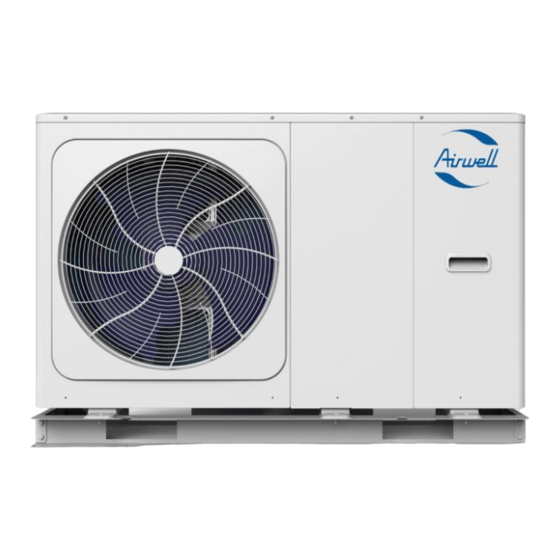
Airwell AW-WHPMA10-91 Instalación y configuración - Página 5
Navegue en línea o descargue pdf Instalación y configuración para Aire acondicionado Airwell AW-WHPMA10-91. Airwell AW-WHPMA10-91 15 páginas.

Below shows a basic wiring schematic for use with the previous hydralic schematic, for the Airwell monobloc Heat
pump. Using a Third party room stat for switching on and off the heating demand.
Each terminal supplies a maximum of 0.2amp if the item connected draws more than 0.2amp a relay and a external
power supply should be used.
Power Supply Via
Switched Fuse Spur
The Domestic Hot water sensor is connected directly to the PCB on plug CN13. There is a flying lead with a plug on for
connecting this, this is located at the right-hand side of the unit. As in the
picture to the right-hand side.
The Domestic Hot water sensor is supplied with a 10m Cable, this cable
can be extended to a maximum of 20m. This should not be shortened.
W: www.aukdistribution.com
Control Wiring
Post Buffer
Pump
Power Supply Via Switched Fuse Spur*
*Pumps with a drawing less that 0.2A can be connected
directly to PCB
*Alternatively, the Immersion can be feed
rd
Via a 3
Party time Clock Local to the
heater
T: 0191 516 6553
