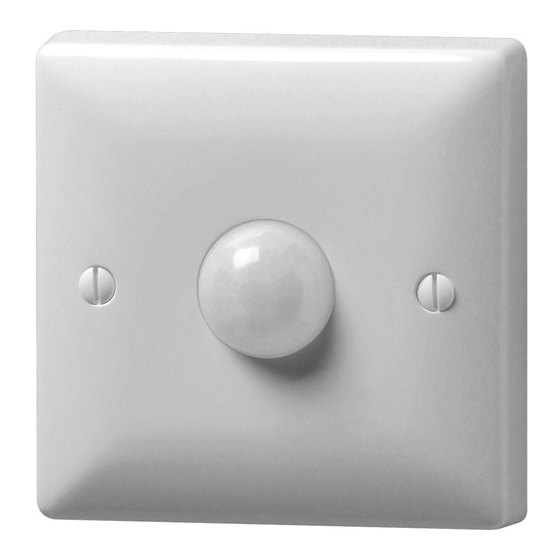
DANLERS WACEPIR Notas de instalación - Página 2
Navegue en línea o descargue pdf Notas de instalación para Interruptor DANLERS WACEPIR. DANLERS WACEPIR 2 páginas. Wall or ceiling mounted pir occupancy switch

Installation procedure
1. P lease read these notes carefully before commencing work.
In case of doubt please consult a qualified electrician.
Make sure the power is isolated from the circuit.
2.The switch should be placed facing the area where activity is
expected, if wall mounted at between 1m and 1.8m high (diagram
C). If the photocell override facility is required, the switch must be
sited in a position where the daylight can give greater illumination
than the artificial light.
3. Connect the WACEPIR as:
L
Live in
N
Neutral in
SL
Switched line out
As shown in the diagram D opposite.
4. A few WACEPIR products can be wired in parallel to control the
same load (diagram E)
5. T here are three adjustments on the underside edge of the switch:
TIME, LUX and SENS (sensitivity) (diagram A)
6. W hen the wiring has been completed and verified, switch on the supply
and test operation.
When the PIR is powered up, it will switch on the load for 1 minute, the
load will then switch off and the PIR will enter its Operating Mode. If a
manual override-off switch is positioned before the PIR in the circuit
(diagrams D & E, note 1) it will do this each time the wall switch is
switched on. Alternatively, if the wall switch is placed after the PIR
(diagrams D & E, note 2) it will not enter the start-up mode each time.
A: Adjusting time, lux and sensitivity
Typical settings
2.5m
80s
5m
1000 LUX
40s
10m
20s
20m
10s
40m
30 LUX
PHOTOCELL
INACTIVE
min
max
max
min
TIME
LUX
50%
100%
min
max
SENS
