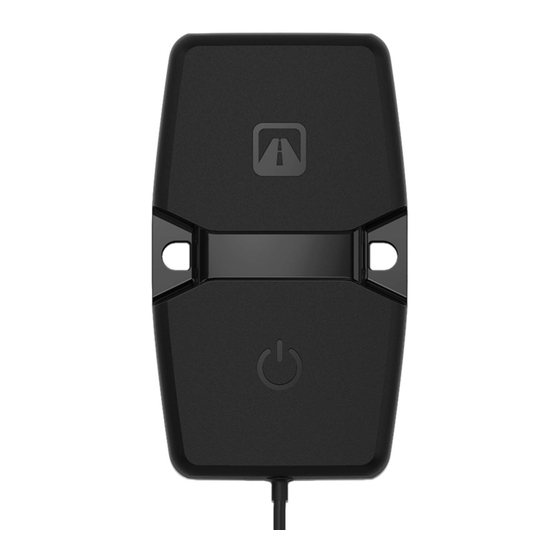
Automile Tracker Standard Manual del usuario - Página 5
Navegue en línea o descargue pdf Manual del usuario para GPS Automile Tracker Standard. Automile Tracker Standard 7 páginas.

ENGLISH
Download the mobile app
If the tracker was ordered from
automile.com
need to register it. Just visit Google Play or Apple App
Store to download the Automile app (fig. 1).
Login / Create a new account
Open the app and fill in your email address or mobile
phone number (fig. 2). If you enter an email address that
our system doesn't recognize we will ask for your phone
number. A one-time passcode will be sent, ensuring a
faster and more secure registration process compared
to custom passwords. If we find that the provided phone
number is being used by an existing account you can
login, or choose to continue creating a new account. This
procedure reduces duplicate accounts.
When creating a new account, select Automile Tracker
as the preferred service. The app will ask to access the
camera to scan the device's QR code. If you don't allow
this you can manually type the IMEI code found on the
Tracker box. If you allow access, just highlight the QR
code on the device to auto-register it (fig. 3).
Power on the device
The device is slightly charged upon delivery. To power it
on for the first time, push the button in the middle of the
Automile logo. The first time the device powers on, the
LED turns red while connecting to the network. If there
is an error preventing connection within 15 minutes, the
device stops the attempt to save battery and tries again
later. This happens only once to avoid any blinking lights
8
ENGLISH
you don't
that could draw a thief's attention. Turning off the device
fig. 1
completely can only be done from the app.
Installing the device
Install Tracker with the zip-ties, screws or tape.
Basic app settings
When you register a device, all settings are set to default.
Depending on what you track, a few settings are more
important than others to understand. To change settings,
open the main menu, select Assets and swipe left on
the tracker you want to edit. Then tap the Edit button to
access the Settings view.
fig. 2
Equipment type
Select the type of your equipment to automatically
calibrate the tracker's built-in motion sensor (fig. 4). Add a
custom name and photo if you wish.
Update interval
Set the tracker's update interval (fig. 5) to 30 sec, 1 min,
2 min, 3 min, 5 min, 10 min, 30 min, 1 h, 6 h, 12 h or 1 day. A
short update interval equals a high tracking frequence, but
increased battery consumption. We recommend update
intervals of 5 or 10 min. Shorter times are recommended
only if the device is running on external power.
fig. 3
Sleep interval
The sleep interval (fig. 5) is by default set to Never sleep;
the device will actively start tracking when movement
is detected. To extend battery time you can select a
9
ENGLISH
fig. 4
fig. 5
