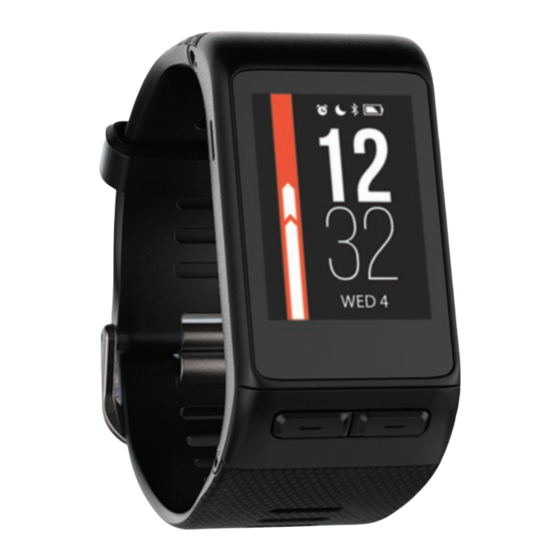
Garmin vivoactive HR Manual del usuario - Página 9
Navegue en línea o descargue pdf Manual del usuario para Ver Garmin vivoactive HR. Garmin vivoactive HR 24 páginas.

2
On your vívoactive HR device, swipe to view the VIRB
widget.
3
Wait while the device connects to your VIRB camera.
4
Select an option:
• To record video, tap the touchscreen.
The video counter appears on the vívoactive HR screen.
• To stop recording video, tap the touchscreen.
• To take a photo, swipe right, and tap the touchscreen.
You can select
to view the apps on your device. Some apps
require a Bluetooth connection to a compatible smartphone.
Activities: Your device comes preloaded with fitness and
outdoor activity apps including running, cycling, swimming,
golfing, and more.
Find my phone: You can use this preloaded app to help locate
a lost phone that is connected to your device using Bluetooth
wireless technology.
Activities
Your device can be used for indoor, outdoor, athletic, and fitness
activities. When you start an activity, the device displays and
records sensor data. You can save activities and share them
with the Garmin Connect community.
You can also add Connect IQ activity apps to your device using
your Garmin Connect account
Starting an Activity
When you start an activity, GPS turns on automatically (if
required). When you stop the activity, the device returns to
watch mode.
1
Select
.
2
Select an activity.
3
If necessary, follow the on-screen instructions to enter
additional information.
4
If necessary, wait while the device connects to your ANT+
sensors.
5
If the activity requires GPS, go outside, and wait while the
device locates satellites.
6
Select
to start the timer.
NOTE: The device does not record your activity data until
you start the timer.
Turning On the Lap Key
You can customize
to function as a lap key during timed
activities such as running and biking.
1
Select
.
2
Select an activity.
NOTE: This feature is not available for all activities.
3
Hold
.
4
Select the activity name at the top of the screen.
5
Select Laps > Lap Key.
The lap key stays on for the selected activity until you turn off
the lap key.
Stopping an Activity
1
Select
.
2
Select an option:
• To save the activity and return to watch mode, select
• To discard the activity and return to watch mode, select
Apps
Apps
(Connect IQ Features, page
Running
Going for a Run
Before you can use an ANT+ sensor for your run, you must pair
the sensor with your device
1
Put on your ANT+ sensors, such as a foot pod or heart rate
monitor (optional).
2
Select
.
3
Select Run.
4
When using optional ANT+ sensors, wait while the device
connects to the sensors.
5
Go outside, and wait while the device locates satellites.
6
Select
to start the timer.
History is recorded only while the timer is running.
7
Start your activity.
8
Select
to record laps (optional)
9
Swipe up or down to scroll through data screens.
10
After you complete your activity, select
activity.
Biking
Going for a Ride
Before you can use an ANT+ sensor for your ride, you must pair
the sensor with your device
1
Pair your ANT+ sensors, such as a heart rate monitor, speed
sensor, or cadence sensor (optional).
3).
2
Select
.
3
Select Bike.
4
When using optional ANT+ sensors, wait while the device
connects to the sensors.
5
Go outside, and wait while the device locates satellites.
6
Select
to start the timer.
History is recorded only while the timer is running.
7
Start your activity.
8
Swipe up or down to scroll through data screens.
9
After you complete your activity, select
activity.
Walking
Going for a Walk
Before you can use an ANT+ sensor for your walk, you must
pair the sensor with your device
page
12).
1
Put on your ANT+ sensors, such as a foot pod or heart rate
monitor (optional).
2
Select
.
3
Select Walk.
4
When using optional ANT+ sensors, wait while the device
connects to the sensors.
5
Go outside, and wait while the device locates satellites.
6
Select
to start the timer.
History is recorded only while the timer is running.
7
Start your activity.
8
Swipe up or down to scroll through data screens.
9
After you complete your activity, select
activity.
.
Swimming
.
The device is intended for surface swimming. Scuba diving with
the device may damage the product and will void the warranty.
(Pairing ANT+ Sensors, page
(Auto Lap, page
10).
>
to save the
(Pairing ANT+ Sensors, page
>
to save the
(Pairing ANT+ Sensors,
>
to save the
NOTICE
12).
12).
5
