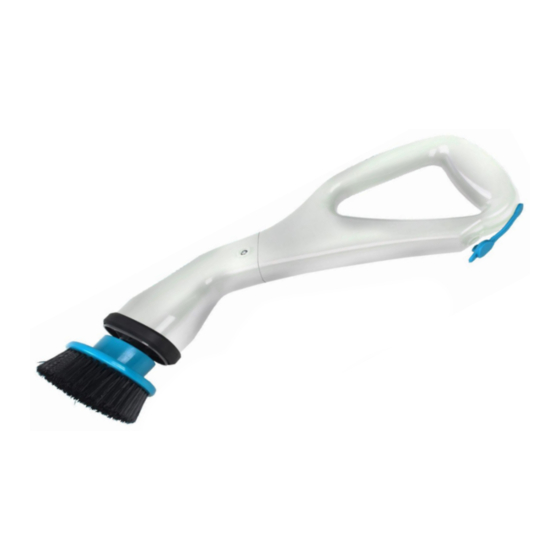
Aqua Laser 46904 Manual de instrucciones - Página 3
Navegue en línea o descargue pdf Manual de instrucciones para Aspiradora Aqua Laser 46904. Aqua Laser 46904 13 páginas.

Brush head assembly
Firmly hold the scrubber head
assembly with one hand and then
press the selected scrubber head
on until secured.
To join both together, line up the
openings on the brush head with
the openings on the srubber head
assembly. See the arrows.
To attach one of the microfiber pads, press the white side of the pad to the microfiber pad holder.
Microfiber pads can be machine washed on a gentle cold cycle with a mild detergent. Allow microfiber pads
to air dry, do not place them in the dryer.
How to use
1. Apply water and a cleaning agent to the surface to be cleaned.
2. To start cleaning, turn the ON/OFF switch to the ON position while the scrubber head is in contact
with the surface to be cleaned. Hold the unit by its handle and gently press the scrubbing head to
the surface to be cleaned. Do not press too hard. The product has been specially designed to do all
the scrubbing work.
3. Not waterproof. Do not dip the brush head or unit in liquids.
4. Prior to cleaning, try the brush on inconspicuous location on the surface to be cleaned.
5. Operate the Turboscrubber brush only when it is touching the area being cleaned in order to limit
spraying user and bystanders.
6. Cleaning chemicals must only be used in accordance with the instructions from the chemical
manufacturers and the instructions from the manufacturers of the surface being cleaned. Abrasive
cleaners should never be used.
Charging
1. Set ON/OFF switch to the OFF position.
2. Remove the charging cover to expose the charging port. Do not separate the charging cover from
the device.
3. Insert the adapter plug into the charging port, located at the bottom of the unit.
4. Plug the charging adapter directly into a standard power outlet.
a. A solid red light on the adapter means charging is occurring.
b. A solid green light on the adapter means the unit is fully charged.
5. If the unit does not charge, test the wall outlet that you are using with a know working device. Also,
if the wall outlet is connected to a wall switch, check and see that the switch is turned to the ON
position.
6. If the unit's handle feels warm during charging, do not worry, this is completely normal.
7. Do not worry, you cannot over-charge the battery by using the provided charging adapter.
8. Replace the charging cover to protect the
charging port once charging is complete.
9. Do not operate the unite while charging.
Keep the unit OFF during the charging
process.
