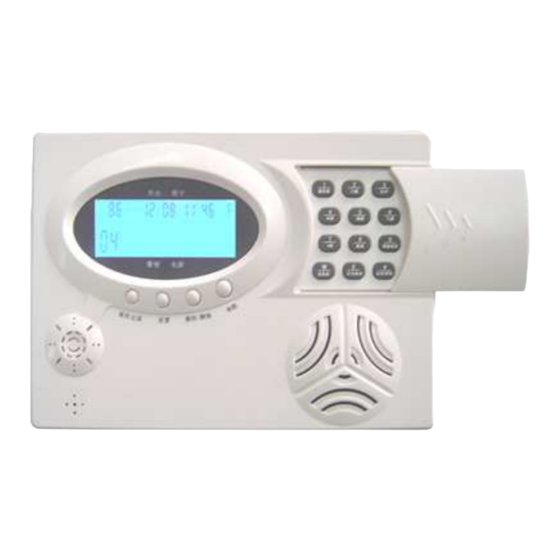
ARGSeguridad ZDAS-300 Manual del usuario - Página 14
Navegue en línea o descargue pdf Manual del usuario para Sistema de seguridad ARGSeguridad ZDAS-300. ARGSeguridad ZDAS-300 16 páginas. Luxury voiced lcd alarm system

N.B. For a more detailed example refer to section 5. Zone Configuration and Explanation.
If no further actions take place the panel will automatically return to normal state after
approximately 30 seconds. Otherwise at the end, press the Dis-Arm key on a registered Key
Fob to return the panel to normal state.
3.9 The System Configuration Setting
How To set system configuration: Press the PROG key on the keypad, a series of - - - will
appear on the LCD. Press the Disarm key on any current registered Key Fob or entering the
preprogrammed PIN code, and the word 'Sensor' will appear on the LCD. Pressing the # key
on the Keypad, the LCD will show the words 'SYS Config', pressing 0 to 9 on the numeric
Keypad to select each Configuration Field Code from 00 to 17 in succession and configure
each field as required. At the end, press the PROG key to save, store the information and exit.
If no further actions take place the panel will automatically return to normal state after
approximately 30 seconds. Otherwise at the end, press the Dis-Arm key on a registered Key
Fob to return the panel to normal state.
Configuration Codes
00: C.S. Comms. 11= send out information about arming, disarming and alarms; 10 = only
send out the alarm information; 00= not net work Default:10
01: Exit delay time. The time is double-digit (XX). The actual time is the product of XX
times 5. The initialization value is 04 = 20 seconds.
02: Entry delay time (delay alarm). The time is double-digit (XX). The actual time is the
product of XX times 5. The initialization value is 06 = 30 seconds.
03: Sounder run time. The time is double-digit (XX). The actual time is the product XX times
20. The initialization value is 06 = 120 seconds.
04: Watchdog time. The unit time is hours. The factory default value is 12hours.
05: Watchdog start and stop time window. Default setting is from 8:00 to 20:00.
06: Set time to Arm. Press * or #, selec the time point( 6 time points in all) enter the time
desired. To cancel this set, press Delete key. Refer to figure 11.
07: Set time to Dis-Arm. Press * or #, select the time point( 6 time points in all) enter the
Time desired. To cancel this set, press Delete key. Refer to figure 12.
11
M
LOG
ALM
Figure18: The LCD display when the wireless detector is alarming
M
LOG
ALM
Figure19: The LCD display when the wired detector is alarming
M
LOG
ALM
Figure 20:The LCD display when the PIN code is entered wrong for 3 times.
3.14 Setting Entry and Exit delay timer
Exit Delay Timer: In order to provide a user with enough time to leave the premises, an
EXIT DELAY TIMER will commence timing when a user arms the system, The timer will
last anywhere from 1 to 255 seconds depending on time selected when configuring the
system.
How to set the Exit delay time: Press the PROG key on the Keypad, a series of - - - will
appear on the LCD. Press the Disarm key on any current registered Key Fob or entering the
preprogrammed PIN code, and the word 'Sensor' will appear on the LCD. Pressing the # key
on the Keypad, the LCD will show the words 'SYS config'. Press 0 then 1 on the numeric
Keypad. 01 will appear in the top left hand corner of the LCD (refer to section 3. 9 for the
configuration codes). Enter the Required Exit Time using the configuration code. The
selected code will be displayed in the bottom right hand corner of the LCD. Press PROG to
store this number.
D
H
M
D
D
H
M
D
D
H
M
D
PIN
16
