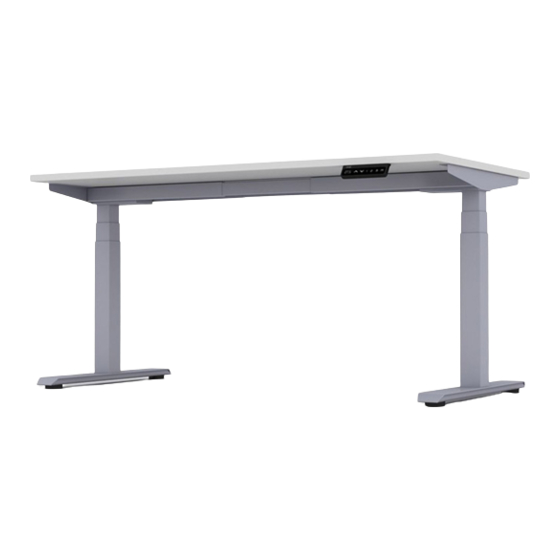
AMQ ACTIV-Pro Manuel d'assemblage - Page 11
Parcourez en ligne ou téléchargez le pdf Manuel d'assemblage pour {nom_de_la_catégorie} AMQ ACTIV-Pro. AMQ ACTIV-Pro 16 pages. Sit-to-stand table
Également pour AMQ ACTIV-Pro : Manuel d'installation (12 pages), Manuel de l'utilisateur (7 pages), Manuel d'utilisation et de dépannage (12 pages)

Phase 6 | Worksurface Mounting
Step 1
To attach the worksurface, start by laying the
worksurface down on the floor with the top
down. Lay the base assembly upside down on
top of the worksurface.
Step 2
The wire of the Handset passes through the
Handset Hole, connected to the Control box.
3
The wire of the Handset passes
through the Handset Hole, connected
Activ-Pro Assembly Guide | 11
2
Handset
Hole
to the Control box.
Step 3
Double check to ensure that the base is properly
positioned on the underside of the worksurface,
and then attach with wood screws.
Note: The worksurface should be center aligned
with the cantiliver depth and should have equal
amount of overhang on each end. Wireless drill is
required for assembly.
ST5*18
(2)
Handset
T - Type Cantilever
ST5*20
(18)
for worksurface
amqsolutions.com
C - Type Cantilever
ST5*16
(18)
for worksurface
