Great Little Trading Paddington Manuel - Page 8
Parcourez en ligne ou téléchargez le pdf Manuel pour {nom_de_la_catégorie} Great Little Trading Paddington. Great Little Trading Paddington 10 pages. Bunkbed
Hardware for Step 7:
6x #5 Connecting Bolts 80mmL
6x #6 Barrel Nuts
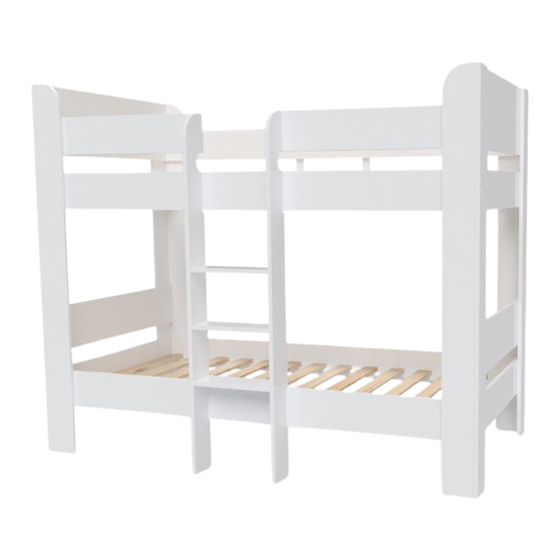
STEP 7:
Take the lower side rail (H) and orientate with the wooden slat support rail closest to
the lower edge. With one person supporting the side rail, connect with the bed end
at the lower position as shown using the dowels. Insert 1x barrel nut (#6) into the
large hole on the side rail, then insert 1x LONGER 80mm connecting bolt (#5) from
the outside leg and tighten with your fingers.
Repeat at the other end of the side rail with the other bed end.
Now attach the upper side rail (H) at both ends using the steps above.
Now attach 1x shorter front guard rails (J) to one bed end above the upper side
rail using the 1x barrel nut (#6) and 1x longer connecting bolt (#5). When in place,
connect the ladder panel (N or M) with the front guard rail using the dowels. This will
support the guard rail. Fully tighten this bolt.
Repeat with 2nd front guard rail and 2nd ladder panel.
(see images on step 8 for the ladder positioning)
Now go back and FULLY TIGHTEN all 12x bolts used in steps 6 & 7 using
the Allen key provided.
J
H
#6
#6
#5
#5
H
#5
#6
2x
#6
#6
J
#5
#10
H
#5
#5
#6
Hardware for Step 8:
8x #10 Hole Plugs
8
#10
#10
#10
2x
#10
2x
#10
2x
#10
2x
#10
STEP 8:
If you haven't already done so in the last step, locate
the ladder side panels (N & M) onto the front guard
rails to support them.
Next install 8x hole plugs (#10) into both sides of the
4x holes on the lower rear side rail H as shown.
H
M
N