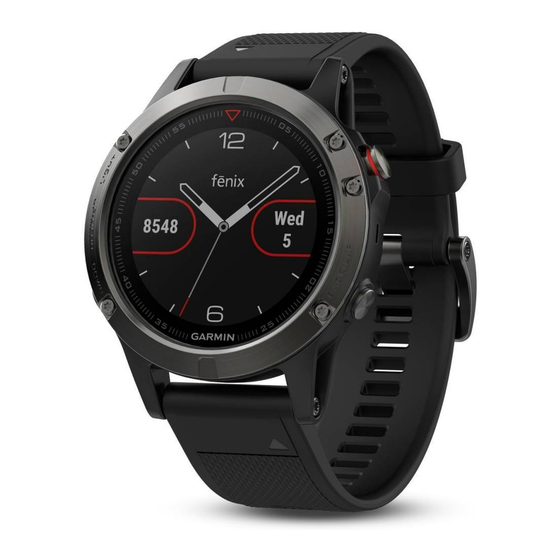
Garmin D2 CHARLIE Manuel du propriétaire - Page 34
Parcourez en ligne ou téléchargez le pdf Manuel du propriétaire pour {nom_de_la_catégorie} Garmin D2 CHARLIE. Garmin D2 CHARLIE 48 pages.

Temperature
Analog temperature
Digital temperature
Density altitude from a compatible temperature sensor, such as the
tempe
sensor
™
METAR
Airport identifier
Aviation flight category
Wind direction, speed, and gusts
Visibility in statute miles
Sky conditions
Weather conditions
inReach Remote
The inReach remote function allows you to control your inReach
device using your D2 device. Go to
an inReach device.
Using the inReach Remote
Before you can use the inReach remote function, you must set
the inReach widget to be shown in the widget loop
the Widget Loop, page
27).
1
Turn on the inReach device.
2
On your D2 device, select UP or DOWN from the watch face
to view the inReach widget.
3
Select
to search for your inReach device.
4
Select
to pair your inReach device.
5
Select
, and select an option:
• To send an SOS message, select Initiate SOS.
NOTE: You should only use the SOS function in a real
emergency situation.
• To send a text message, select Messages > New
Message, select the message contacts, and enter the
message text or select a quick text option.
• To send a preset message, select Send Preset, and
select a message from the list.
• To view the timer and distance traveled during an activity,
select Tracking.
VIRB Remote
The VIRB remote function allows you to control your VIRB
action camera using your device. Go to
to purchase a VIRB action camera.
28
buy.garmin.com
to purchase
(Customizing
www.garmin.com/VIRB
Controlling a VIRB Action Camera
Before you can use the VIRB remote function, you must enable
the remote setting on your VIRB camera. See the VIRB Series
Owner's Manual for more information. You must also set the
VIRB widget to be shown in the widget loop
Widget Loop, page
27).
1
Turn on your VIRB camera.
2
On your D2 device, select UP or DOWN from the watch face
to view the VIRB widget.
3
Wait while the device connects to your VIRB camera.
4
Select
.
5
Select an option:
• To record video, select Start Recording.
The video counter appears on the D2 screen.
• To take a photo while recording video, select DOWN.
• To stop recording video, select
• To take a photo, select Take Photo.
• To change video and photo settings, select Settings.
Controlling a VIRB Action Camera During an Activity
Before you can use the VIRB remote function, you must enable
the remote setting on your VIRB camera. See the VIRB Series
Owner's Manual for more information. You must also set the
VIRB widget to be shown in the widget loop
Widget Loop, page
27).
1
Turn on your VIRB camera.
2
On your D2 device, select UP or DOWN from the watch face
to view the VIRB widget.
3
Wait while the device connects to your VIRB camera.
When the camera is connected, a VIRB data screen is
automatically added to the activity apps.
4
During an activity, select UP or DOWN to view the VIRB data
screen.
5
Hold UP.
6
Select VIRB Remote.
7
Select an option:
• To control the camera using the activity timer, select
Settings > Timer Start/Stop.
NOTE: Video recording automatically starts and stops
when you start and stop an activity.
• To control the camera using the menu options, select
Settings > Manual.
• To manually record video, select Start Recording.
The video counter appears on the D2 screen.
• To take a photo while recording video, select DOWN.
• To manually stop recording video, select
• To take a photo, select Take Photo.
Using the Stress Level Widget
The stress level widget displays your current stress level and a
graph of your stress level for the last several hours. It can also
guide you through a breathing activity to help you relax.
1
While you are sitting or inactive, select UP or DOWN to view
the stress level widget.
TIP: If you are too active for the watch to determine your
stress level, a message appears instead of a stress level
number. You can check your stress level again after several
minutes of inactivity.
2
Select
to view a graph of your stress level for the last four
hours.
Blue bars indicate periods of rest. Yellow bars indicate
periods of stress. Gray bars indicate times that you were too
active to determine your stress level.
(Customizing the
.
(Customizing the
.
Customizing Your Device
