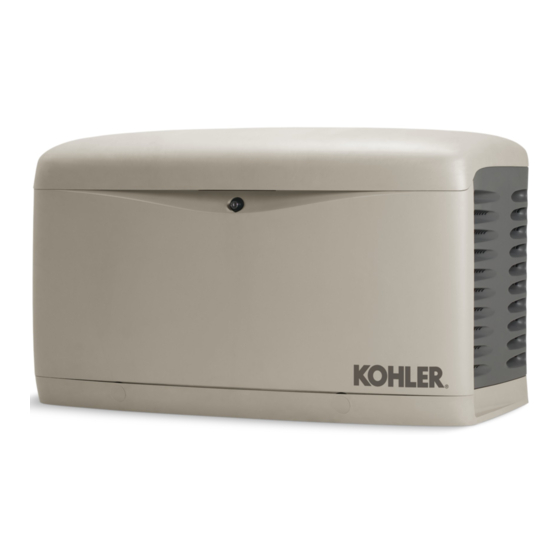
Kohler 14RESL Manuel de dépannage - Page 4
Parcourez en ligne ou téléchargez le pdf Manuel de dépannage pour {nom_de_la_catégorie} Kohler 14RESL. Kohler 14RESL 8 pages. Residential and light commercial generator sets
Également pour Kohler 14RESL : Manuel d'installation (48 pages)

Engine Hunting
Models 20RES, 20RESL, 20RESA, and 20RESAL
Engine hunting can be the result of a number of factors.
Experience has shown that replacement of the
controller or stepper motor is typically not effective in
solving hunting-related issues.
The following steps outline a troubleshooting sequence
to help diagnose and pinpoint the cause of the frequency
fluctuation and suggestions for resolving the condition.
Perform the steps in the order shown and test the
operation after each step. If one step does not solve the
hunting, proceed to the next step.
1. To prevent automatic starting, disconnect the ATS
by disconnecting PWR and COM (RXT) or engine
start leads 3 and 4 (RDT).
2. Confirm under what conditions the generator
hunts. No load? Loaded? Only during exercise?
3. Most hunting cases can be solved by completing
the following two steps:
a. Update to the most current version of firmware
available (4.09 or higher for the RDC2,
RESA/RESAL; 3.15 or higher for the RDC,
RES/RESL). The Kohler Generator Service
Department will provide the most current
version if it is not yet available on TechTools.
b. Install vent tubes on the two reference ports on
the fuel regulator. Procure the parts shown in
Figure 1 locally, or order Regulator Vent Tube
kit GM87489. Route both tubes to the outside
through the customer connection openings in
the enclosure. See Figure 2.
If the unit still hunts after performing these steps,
continue following the troubleshooting steps
below.
4. Use SiteTech to check the Engine Speed Gain
Adjustment setting. The default setting is 50 and it
normally is not adjusted.
a. If the setting is different, reset to 50 and run the
engine again.
b. If the setting is 50, change the value in
downward increments of 5. Note the effect that
the change has on the speed of the hunting.
c. If decreasing the setting is not effective, reset to
50 and increase in increments of 5.
4
5. Check the air intake tube that runs from the filter
housing to the controller J-box. Is the tube seated
properly on the filter housing? Is the grommet
completely inserted in the housing?
a. No? Adjust tubing and grommet as needed.
b. Yes? Proceed to the next step.
6. Verify that the unit is set up for the proper fuel
source. See the generator set Installation Manual
for instructions.
D
LPG: Insert orifice and disconnect DSAI leads.
D
NG: Remove orifice and connect DSAI leads.
7. Is fuel pressure from the source steady and at
acceptable levels during all phases of operation?
Verify the minimum and maximum fuel pressures
with the spec sheet. Pressure should not vary more
than 10% from static pressure when starting and
accepting full load.
a. If the pressure varies more than 10% during
operation, check the fuel supply and adjust as
needed.
b. If the pressure is steady, proceed to the next
step.
Qty. Description
2
Elbow, 90_, 1/8"NPT x 3/8" hose barb
2
Tubing, 3/8" ID x 9" long, clear flexible
plastic
Figure 1 Regulator Vent Tube Kit GM87489
1. Elbow fittings 25-155-38, qty. 2
2. Tubing GM76024, qty. 2
3. Route both hoses to the outside through the existing
openings in the enclosure
Figure 2 Fuel Regulator Vent Tube Installation
Part Number
25-155-38
GM76024
1
2
3
sb722
SB-722
1/13
