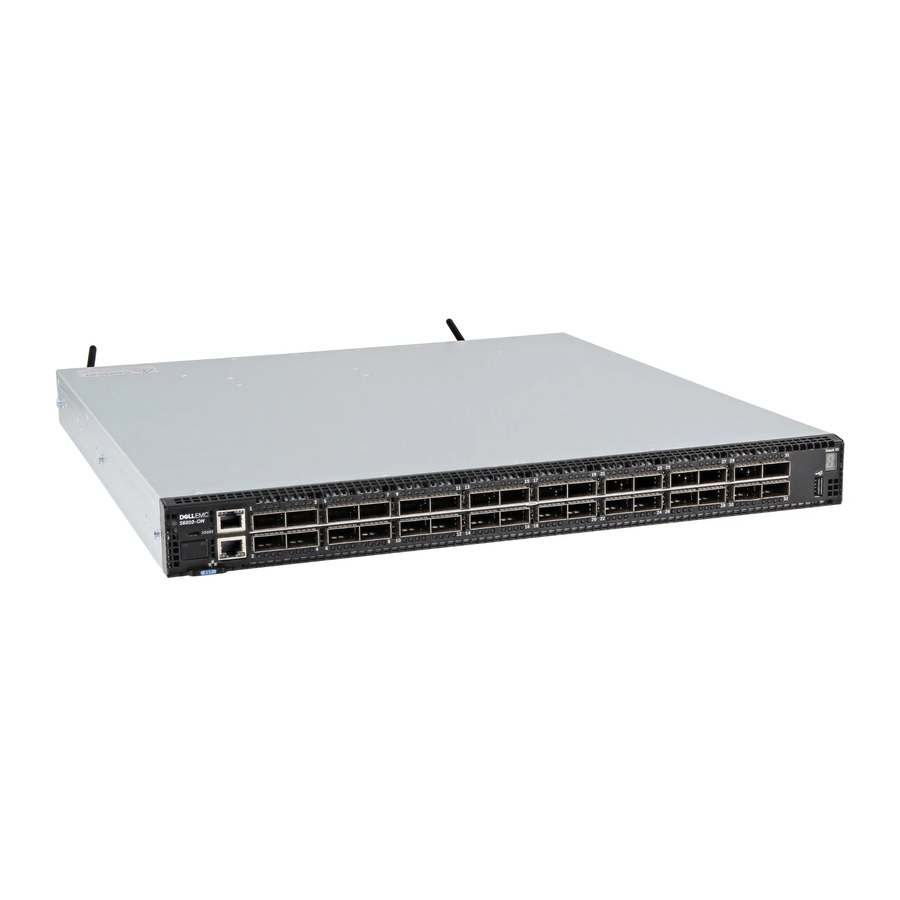
Dell S6010-ON Manuel d'installation - Page 25
Parcourez en ligne ou téléchargez le pdf Manuel d'installation pour {nom_de_la_catégorie} Dell S6010-ON. Dell S6010-ON 46 pages.
Également pour Dell S6010-ON : Notes de mise à jour du micrologiciel (12 pages)

Figure 15. Front-rack configuration installation
Ground wire installation
After you have installed the S6010-ON switch in a rack, complete the installation of the ground wire.
You previously installed the GND lug and bracket assembly, with ground wire attached, to the chassis, see
Bracket
Assembly.
Supply the following items:
•
One 2-hole UL-certified GND lug to attach ground wire to rack
•
Two National Electric Code (NEC) compliant screws to attach the GND lug to the rack
•
Anti-oxidant compound
•
Crimping tool
1
Measure and cut a length of wire sufficient to reach between the system-installed GND lug and the rack-end GND lug.
2
Attach the end of the wire to the rack-end GND lug.
a
Coat the bare end of the wire with an anti-oxidant compound.
b Insert the end of the wire into the lug.
c
To secure the connection, crimp the lug.
Installing the Ground Lug and
S6010–ON installation
25
