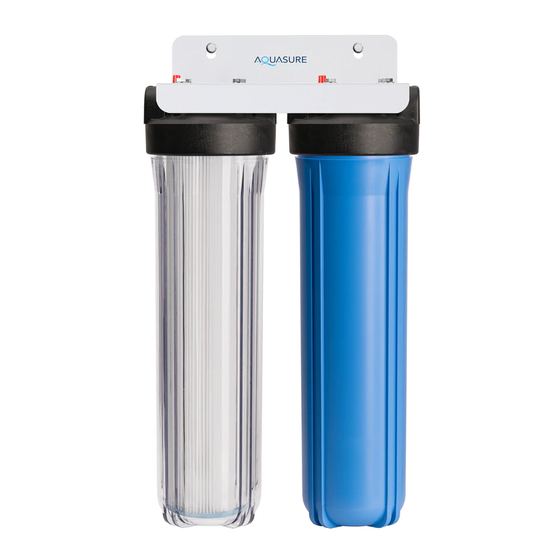
AquaSure AS-F110PS Manuel du propriétaire - Page 8
Parcourez en ligne ou téléchargez le pdf Manuel du propriétaire pour {nom_de_la_catégorie} AquaSure AS-F110PS. AquaSure AS-F110PS 12 pages. Whole house

- 1. Table of Contents
- 2. Inspection & Preparation
- 3. Be Familiar with the System before Installation
- 4. System Operation Parameter and Installation Checklist
- 5. Installing the System
- 6. STEP 1. Shutting off the Main Water Supply Valve
- 7. STEP 2. Mounting the System
- 8. STEP 3. Attaching the Water Supply Pipe
- 9. STEP 4. Installing the Filter
- 10. STEP 5. System Startup
- 11. System Maintenance
- 12. STEP 2. Removing the Filter Housing
- 13. STEP 3. Install the New Filter
- 14. STEP 4. System Startup
- 15. Limited Product Warranty
STEP 3.
Attaching the Water Supply Pipe
1. Wrap the 1" male threaded fittings (Not Included) with 5 to 6 wraps of Teflon tape.
2. Attached the 1" male threaded fitting from the incoming supply plumbing to the IN port
and OUT port of the system.
STEP 4.
Installing the Filter
1. Unwrapped the filter and place it inside the housing and make sure the housing is
centering on the stand pipe.
2. Screw on the housing with the filter inside and screw onto the corresponding head by
turning it counterclockwise using the supplied housing wrench.
Note: Make sure the o-ring is inside the housing and do not over tightening the housing.
STEP 5.
System Startup
WARNING! Immediately shut off the main water supply valve if there are leaks. Check the
leak area and see if there's a loose connection or if more Teflon tape is needed to prevent
leaks from happening.
1. Turn on the main water supply valve fully by turning it counterclockwise.
2. Check for leaks
3. Turn on the nearest faucet and let the water run for 10 minutes to release any trapped air
bubble or carbon fine if a carbon filter is installed.
CONGRATULATION!
Your system is ready to use. Please document the filter installation time and replace the filter in the
suggested replacement time.
6
www.AQUASUREUSA.com
Tel: 1-800-661-0680
