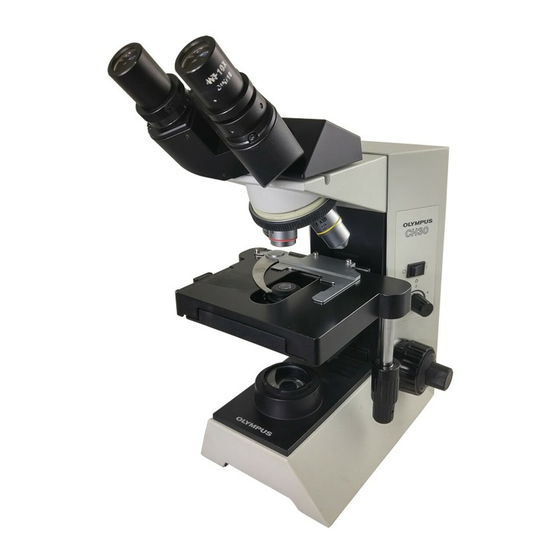
Olympus CH30 Manuel d'instructions - Page 16
Parcourez en ligne ou téléchargez le pdf Manuel d'instructions pour {nom_de_la_catégorie} Olympus CH30. Olympus CH30 28 pages. Biological microscope
Également pour Olympus CH30 : Manuel d'instructions (29 pages)

12
Fig. 21
ση
apn image
Eyepiece
FE Se
Objective pup
Fig. 23
Fig. 24
Я
certering ne Fiea ris Diaphragm (CH40 only) (Figs. 21,22)
1 . With the 10X objective engaged and the specimen brought into focus,
turn the field iris diaphragm dial @ counterclockwise to stop down
the diaphragm somewhat. (Fig. 21)
2 . Tum the condenser height adjustment knob @ to bring the field iris
diaphragm image into focus. (Fig. 21)
3 . While gradually opening the field iris daphragm image, rotate the two
centering knobs @ of the compensating lens to adjust so that the field
iris diaphragm image is centered in the eyepiece field of view.
(Figs. 21, 22)
4. To check centration, open the field iris diaphragm until its image
touches the perimeter
of the field
of view. If the image is not precisely
inscribed in the field of view, center again. Fig. 22)
5 . When used for actual observation, open the field iris diaphragm until
its image just circumscribes the field of view.
© When the compensating lens and field iris diaphragm attachment are
mounted on the CH30, center the diaphragm in the same manner as
described above.
Я
Aventure iris Diaphragm
(Figs. 23,24)
© The aperture iris diaphragm determines the numerical aperture of the
illumination system. Matching the numerical aperture © of the
illumination system with that of the objective provides better image
resolution and contrast, and also increases the depth of focus.
© Since the contrast of microscope specimens is ordinary low, setting
the condenser aperture iris diaphragm to 70-80% of the NA. of the
Objective in use is usually recommended. When necessary, adjust the
ratio by removing the eyepiece and looking into the eyepiece sleeve
while adiusting the aperture iris diaphragm lever () until the image
shown in Fig. 23 is seen.
