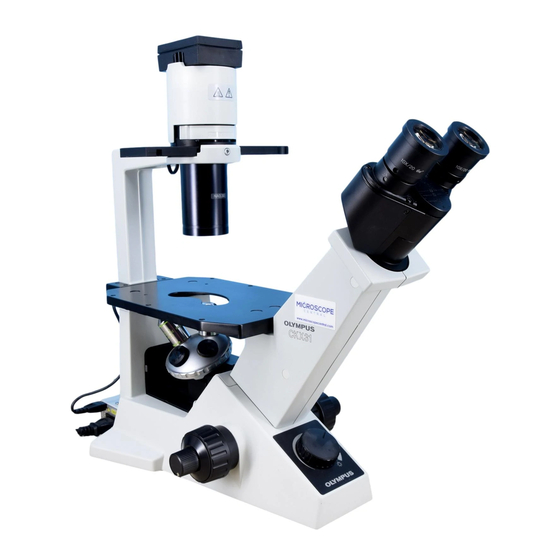
Olympus CKX31 Manuel de réparation - Page 23
Parcourez en ligne ou téléchargez le pdf Manuel de réparation pour {nom_de_la_catégorie} Olympus CKX31. Olympus CKX31 43 pages. Culture microscopes
Également pour Olympus CKX31 : Vue d'ensemble (7 pages), Brochure & Specs (4 pages)

CKX31/CKX41
No.
Parts name
(A)
COVER
(B)
COVER
(C)
FOCUSING GUIDE
UNIT
(D)
GUIDE
(E)
ROLLER
(F)
CASING
(G)
NOSEPIECE
MOUNT ASS'Y
(H)
ROLLER
(I)
CASHING
(J)
WIRE GUIDE
(K)
WIRE GUIDE
(L)
WIRE GUIDE
(M)
WIRE GUIDE
C. DISASSEMBLY AND ASSEMBLY PROCEDURES
Screw
CUKK3X6SA, 1pc. (*1)
AB4X14SA, 3pcs. (*2)
CUKSK2.6X10SA, 4pcs. (*3)
AB3X12SA, 5pcs. (*4)
KNW3SA, 5pcs. (*5)
C-12
Grease Adhesive
Attach it with double coated
adhesive tape.
Fit the protrutions into the holes
of frame.
Mount it while pushing it to front
and left directions.
(Refer to the figure on C-9.)
Press it down to adjust the
OT2010
OT1838
working force, and fix it.
Check item
working force: 0.2N - 0.5N
Movement: without play or
*Apply adhesive to fixing screws.
Apply grease to rollers.
OT2010
Arrange the rollers alternately.
OT2010
Mount the rack while pushing it
OT2010
in the arrow directions when
replaced.
(Refer to the figure on C-11.)
Apply grease to rollers.
OT2010
Arrange the rollers alternately.
Check the sliding surface of wire
OT2010
guide. If there is a dent on it,
replace the wire guide.
Grease: applied part:
each groove attached wire guide,
sliding surface of wire guide
Same as the above
OT2010
OT2010
Same as the above
OT2010
Same as the above
Remark
(OT3225)
tightness
