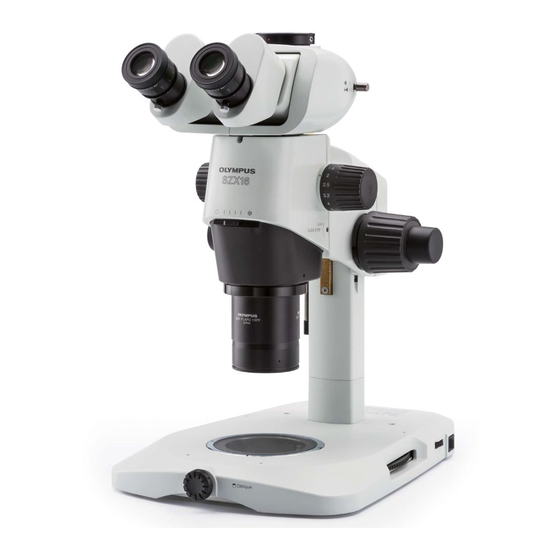
Olympus SZX16 Manuel d'instructions - Page 16
Parcourez en ligne ou téléchargez le pdf Manuel d'instructions pour {nom_de_la_catégorie} Olympus SZX16. Olympus SZX16 28 pages. Research high-class stereo microscope
Également pour Olympus SZX16 : Vue d'ensemble (24 pages), Manuel d'instructions (36 pages), Manuel d'instructions (40 pages)

ADJUSTMENTS, GENERAL
1
Centering the Mercury Burner
Turning On the Power Supply Unit
Set the main switch to " I " (ON). Between 5 and 10 minutes are required for the arc to stabilize after the burner is ignited.
}Discharge-type mercury burners may not ignite the first time the power is turned on due to its characteristics. If the burner
does not ignite, set the main switch to "
# To avoid shortening the life of the burner, do not turn the burner off within 2 hours after ignition.
}After turning the burner off, it cannot be re-ignited until the mercury vapor cools and condenses to liquid. Wait for more
than 10 minutes before restarting the burner.
Even while the burner is turned on, opening the lamp housing causes the safety interlock function to shut off
power automatically. In this case, set the main switch to "
restarting the burner. Before opening the lamp housing, wait until it becomes sufficiently cool.
# When resetting the hour counter, be sure to hold down its button until it reads "0.0".
The mercury burner radiate UV rays that are dangerous. Do not ignite it until the equipment has been assembled
correctly.
Centering Procedure
|
@
³
13
5
²
Fig. 14
" (OFF) once, then set the main switch to " I " (ON) again after 5 to 10 seconds.
" (OFF), and then wait for more than 10 minutes before
1. Set the zooming knob @ to around 5X because this magnification
facilitates centering.
2. Turn the coarse and fine adjustment knobs ² to bring the stage plate ³
into approximate focus.
3. Rotate the filter turret | to engage a filter other than the GFP or U-excitation
filter in the light path.
4. Push in the shutter slider 5 to the "shutter OUT" condition.
}If the illumination is too bright, engage an ND filter or use the black
surface of the stage plate (or place a sheet of black paper on the stage).
