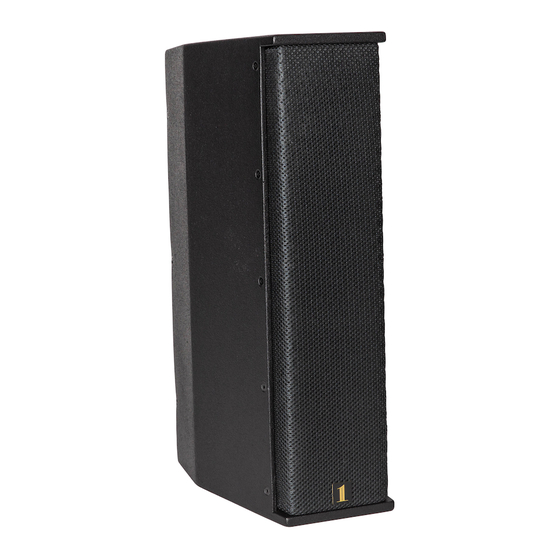
1 Sound LCC44 Manuel d'installation - Page 9
Parcourez en ligne ou téléchargez le pdf Manuel d'installation pour {nom_de_la_catégorie} 1 Sound LCC44. 1 Sound LCC44 16 pages.

Installing a redundant safety anchor
Attention: When correctly installed, the Wall Mount Bracket
is designed to safely support The LCC44 or LCC84 speaker
enclosure under normal conditions. However, connection to an
external anchor point using a steel wire rope safety sling or chain
is strongly recommended in any installation where people could
pass beneath or near the loudspeakers and may be required
by local or national codes in installations in public places. If you
intend to install a secondary safety sling anchored directly to
the enclosure, it is recommended that you use one of the M6
rigging points on the top of the LCC44 or LCC84 enclosure for
this purpose.
In most cases of wall mounting a single LCC44 or LCC84 enclosure, the
use of a common, steel wire rope sling will provide sufficient redundant
safety. Carefully review the third-party manufacturer's documentation to
assure that the sling and all its components are certified for the proper
Safe Working Load with the required Factor of Safety. The length of the
sling and termination on the opposite end will obviously depend on the
requirements of the structure to which it will be anchored.
It will be necessary to install an eye bolt in one of the M6 rigging points in
the place of the M6 × 16 mm screw supplied with the speaker enclosure.
Only a forged steel eye bolt with a collar or shoulder, certified for the
proper Safe Working Load with the required Factor of Safety at its
minimum load angle can be used.
Important: For permanent or semi-permanent installation,
the use of medium-strength threadlocking compound is
recommended on all user-installed screws.
Figure 15. M6 Eye bolt measurement requirements.
Figure 16. Removing the M6×16 mm countersunk
screw for the installation of a safety anchor.
| 3 - INSTALLING LCC44/LCC84 ON A WALL MOUNT BRACKET
• Using a 4 mm hex wrench, remove one of the M6×16 mm
countersunk screws from the top pf the LCC44 or LCC84
enclosure. Though any one of these rigging points is capable of
supporting the enclosure, it is good practice to use one of the
rigging points nearer the horizontal center of the enclosure and
nearest one in a straight line to the external anchor point.
Figure 17. Inserting an M6 eye bolt
in the rigging point on the top of the
LCC44/84 enclosure.
• Thread the M6 eye bolt into the rigging point from which the
screw was removed and tighten it with your fingers.
Figure 18. Tightening the eye bolt.
Figure 19. Tightening the eye bolt.
• Using a slotted socket or eye bolt spanner, firmly tighten the
eye bolt.
