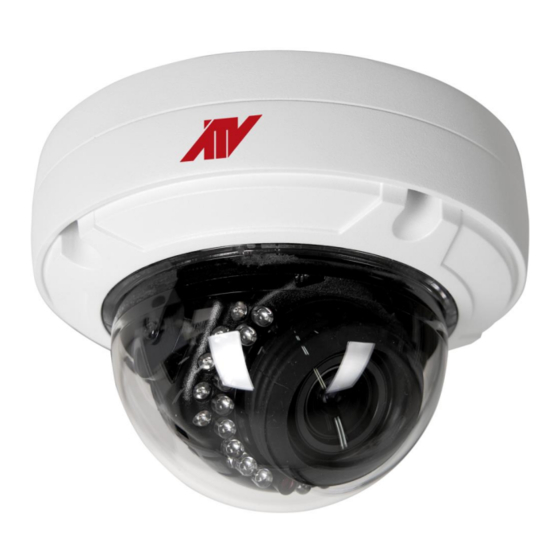
ATV NVW2212M Panduan Cepat - Halaman 8
Jelajahi secara online atau unduh pdf Panduan Cepat untuk Kamera Keamanan ATV NVW2212M. ATV NVW2212M 12 halaman. Vp dome network camera

2.2 Connection
•
Micro SD memory slot on the Bottom Board
Remove the cap at bottom of the camera to insert the SD memory card.
•
Connecting to the RJ-45
Connect a standard RJ-45 cable to the network port of the network camera. Generally a cross-over
cable is used for directly connection to PC, while a direct cable is used for connection to a hub. You
can also use a router featuring PoE (Power over Ethernet) to supply power to the camera.
•
Connecting Alarms
AI(Alarm In): You can use external devices to signal the network camera to react on
events. Mechanical or electrical switches can be wired to the AI (Alarm In) and G (Ground)
connectors.
G(Ground): Connect the ground side of the alarm input and/or alarm output to the G (Ground)
connector.
AO(Alarm Out): The network camera can activate external devices such as buzzers or lights.
Connect the device to the AO (Alarm Out) and G (Ground) connectors.
•
Connecting the Power
Connect the power of 12VDC for the network camera. Connect the positive(+) pole to the '+' position
and the negative (-) pole to the '-' position for the DC power.
–
Be careful not to reverse the polarity when connecting the power cable.
–
A router featuring PoE (Power over Ethernet) can also be used to supply power to the
camera.
–
For the power specifications, refer to the appendix, product specification.
–
If PoE and 12 VDC are both applied, the camera will be supplied with power from PoE.
•
Connecting Audio
Connect speaker to audio line output and external Mic to audio input line.
•
Connecting Test Monitor Out(CVBS)
Connect 3pin test video cable(Optional) to check test video.
9
