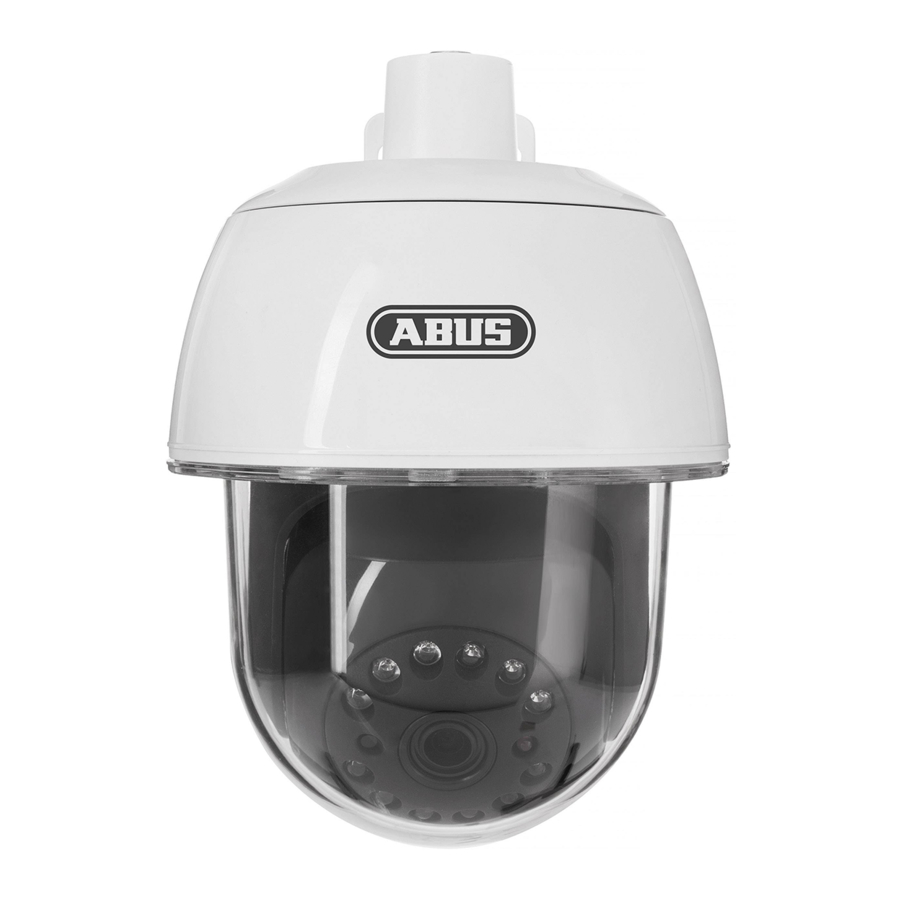
Abus PPIC32520 Panduan Cepat - Halaman 6
Jelajahi secara online atau unduh pdf Panduan Cepat untuk Kamera Keamanan Abus PPIC32520. Abus PPIC32520 9 halaman. Wi -f i pa n/ t ilt o u t d o o r c a me r a
Juga untuk Abus PPIC32520: Panduan Cepat (8 halaman)

E I N L E R N E N S Y S T E M
P R O G R A M M I N G S Y S T E M
Schritt 2 – Kamera auswählen und mit W-LAN verbinden
Step 2 – Select camera and connect to Wi-Fi
3
Wählen Sie die Op-
tion WLAN Kameras
für die Installation
aus.
Select the option
„WiFi Camera" for
the installation.
5
Wählen Sie die
erste Option „Gerät
via WLAN hinzu-
fügen" aus.
Select the fi rst
option „ADD DEVICE
VIA WI-FI".
Siehe Systemvoraussetzungen „2.4 GHz WLAN Netzwerk" und „Sonderzeichen".
See system requirements „2.4 GHz Wi-Fi network" and „special characters".
10
4
Wählen Sie die
Option „Neues
Gerät" aus.
Select the option
„New device".
6
Gehen Sie zu den
WLAN-Einstellungen
Ihres Smartphones/
Tablets.
Go to the WI-FI settings
of your smartphone or
tablet.
iOS-Setup
7
Wählen Sie das WLAN-
Netzwerk „HD-xxxxx"
Das Standard Passwort
des Access Points lautet
‚12345678'.
Tipp: Gleiche Nummern-
folge wie bei der DID
(QR-Code).
Choose the Wi-Fi network
„HD-xxxxx"
The default password of the
access point is ‚12345678'.
Tip: Same number sequence
as the DID (QR-Code).
9
Geben Sie ihr WLAN
Passwort ein und
bestätigen mit OK.
Enter your WLAN
WLAN1
password and
confi rm with OK.
HINWEIS: Wenn das Gerät nach dem Neustart „getrennt" anzeigt,
prüfen Sie ob ihr Smartphone mit dem ausgewählten Netzwerk verbunden ist.
Wenn das Gerät weiterhin als „getrennt" angezeigt wird, folgen Sie den Schritten in dem
Quickguide um das Gerät zurückzusetzen. Führen Sie die Installation erneut durch.
NOTE: If the device displays „disconnected" aft er restarting,
check if your phone is connected to the selected network.
If the device still shows „disconnected", follow the steps in
the quick guide to reset the device. Perform the installation again.
8
Nach erfolgreicher
Verbindung mit dem
WLAN-Netzwerk „HD-
xxxxx", gehen Sie
wieder in die APP
2CAM Plus zurück.
Wählen Sie das WLAN
WLAN1
Netzwerk (2,4 Ghz), mit
WLAN2
WLAN3
dem sich die Kamera
WLAN4
verbinden soll aus.
WLAN5
Aft er successful
connection to the WLAN
network „HD-xxxxx", go
back to the APP2CAM Plus.
Select the Wi-Fi network
(2.4 Ghz) the camera
should connect to.
10
Anschließend startet
ein Countdown von 120
Sekunden, in dem sich
die Kamera mit dem
Netzwerk verbindet.
A countdown of 120
seconds starts, in
which the camera
connects to the
network.
120 Sekunden warten
Wait 120 seconds
11
