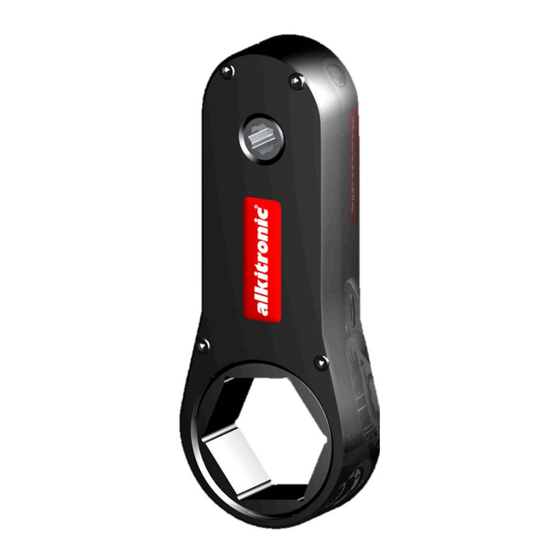
alkitronic XCE Panduan Pengoperasian dan Pemeliharaan - Halaman 5
Jelajahi secara online atau unduh pdf Panduan Pengoperasian dan Pemeliharaan untuk Pompa Air alkitronic XCE. alkitronic XCE 12 halaman.

2.3 Putting into operation alkitronic® / Norwolf XCE Link
The hub style version has a specific splined hub to match
the chosen input tool. This version operates with any
alkitronic® pneumatic or electric torque multiplier.
e.g. torque multiplier
alkitronic® EAF
(battery driven)
alkitronic® CLD
(pneumatic driven)
When using the alkitronic® torque multiplier,
you must stick to the corresponding operation
manual.
•
Place the alkitronic® / Norwolf XCE
Link on the application by using
the engraved arrows as a guide.
Place the XCE Link completely on
•
the bolt / nut (1).
•
Ensure a stable reaction point
(see page 6, item 3).
•
Insert the torque multipler into
the splined hub (3).
•
Always keep the XCE Link in axis
line (2) to the bolt during the bolt-
ing process.
1
For tightening or loosening using the torque multpliers, see
page 8, item 4.3.
The input torque values are model dependent
and must not be exceeded! See page 8 Item 4.3
Multiplication of torque will depend on Link model.
manual torque multiplier
3
for square drive
2
3/4" or 1", depend-
ing on version
2.4 Putting into operation alkitronic® / Norwolf Z series
Slide the square pin (1) into the square drive housing. Push
the standard socket or adapter on square drive - install lock
pin and secure with rubber ring (steps 1 to 4 / Fig. 3).
Using standard adapter: screw in safety screw respectively.
Torque wrench
Fig. 3
square pin
1
4
3
2
5
Fig. 4
Torque Wrench (6):
Check the rotation direction switch (3) on your torque wrench
to ensure correct rotation (cw = R, ccw = L, neutral
position = O).
Tightening or loosening - using the torque wrench,
see page 8, Item 4.2.
Multiplication of torque will depend on Link model.
The alkitronic® Z series has to be prepared for every special
bolting operation:
• Perform a safety audit on a correct seat of the standard
socket / - adapter
• Check on possible damage of the standard socket/ -
adapter or other adapter. This is absolutely necessary.
Never to use damaged parts. Insert only original alkitronic®
spare parts.
5
1/2" or 3/4"
depending on version
•
Place the Z series manual torque
multiplier with the socket com-
pletely on the bolt/nut.
•
Ensure a stable reaction point (see
page 6, item 3).
•
Always keep the torque tool in
axis line (Fig. 4 / 5) to the bolt dur-
ing the bolting process.
6
