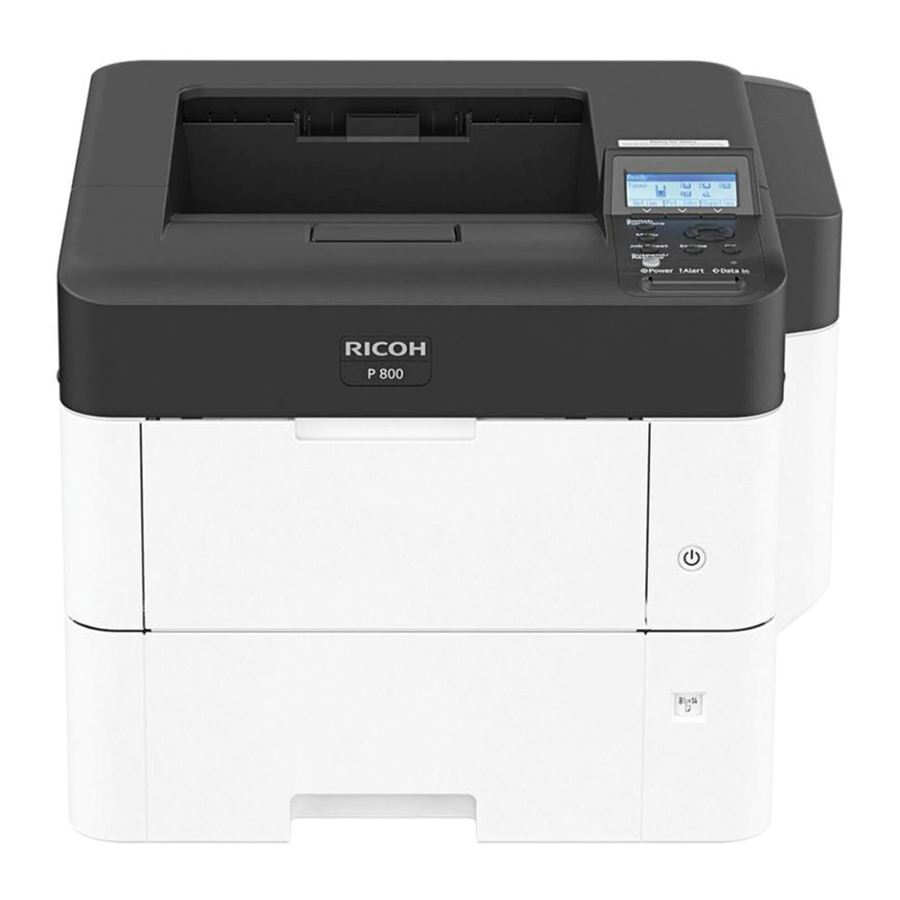
Ricoh P801 Petunjuk - Halaman 2
Jelajahi secara online atau unduh pdf Petunjuk untuk Printer Ricoh P801. Ricoh P801 5 halaman. Electronic license system (els)
Juga untuk Ricoh P801: Panduan Petunjuk Pengoperasian (12 halaman), Setup Manual (32 halaman), Setup Manual (32 halaman)

Electronic License System (ELS)
P801 Printer Instructions
Turn printer back on and wait for printer light to blink and go steady - will give a slight click
sound
Plug terminal back in and terminal will stay on the Copyright screen (delivering the startup
screen) and printer should be ready to go
Can't get printer to print any data:
Turn off printer- wait for light to go off
Hold Feed/Pause button down, and turn on printer. Hold until the printer moves paper
Release feed button (blinking slow), and paper will feed, light will go solid; the printer will print
the diagnostics strip
If the printer prints the information, then there is probably a terminal to printer-startup-string issue.
Perform the startup string. If nothing prints on the license, but you see the imprint is on the ribbon,
the ribbon is backward. Replace ink ribbon
Paper feeds out 1 inch at a time, light blinks quickly: Printer is not detecting ribbon movement.
The ribbon could be installed so that it is rolling the wrong way from either the back spindle or the
front spindle. The printer detects if there is too much tension or not enough tension on the ribbon.
Clean rubber strip on print head
Adjust tension
Replace ink ribbon
BASIC SETTINGS FOR THE P801
Set green dial (on right side of print head) on numeral 6.
Turn the dial where the numbers are descending, 10, 9, 8, etc. until the green dial stops. It should
be around the numeral 2.
Turn the dial up to the first numeral 6. (Dial can be adjusted to the 7 or 8 if not printing.)
Line the license paper and the ribbon up correctly to the far left. Leave about a 1/16 of an inch of
space between the license paper and the left side of the printer, which will ensure proper movement of
the paper. The black plastic media hub flange should up against the right side of the paper roll.
Ribbon should be touching all three metals rollers. Once the ribbon is installed, take a piece of license
paper and gently touch the ribbon on the front roller. This is the roller closest to the opening of the
printer. If the paper picks up a small amount of ink, then the ribbon has been installed correctly. If the
paper does not pick up any ink from the ribbon, check the installation of the ribbon.
The large green lever on the right side of the printer should be in place to secure the print head.
Pushed backward the small green lever on the right side of the printer until it clicks.
Line up the license paper against the green guide in the bottom of the printer.
Loosen the green knob on the left side of the printer. To loosen:
Hold the right side of the roller in place with the right hand, and then unwind the green knob with the left
hand until it has loosened as much as it can. You should be able to see the spring uncoil. The more space
between the coils means you have decreased the tension. If the coils are tightening, this means you have
increased the tension.
2
updated January 22, 2009
