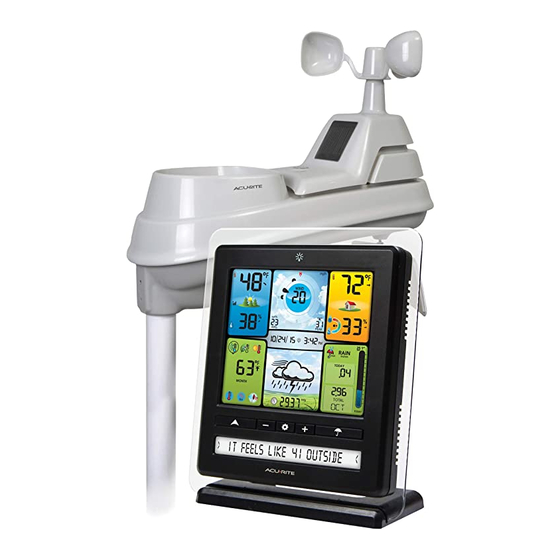
ACU-RITE 02064C Buku Petunjuk - Halaman 6
Jelajahi secara online atau unduh pdf Buku Petunjuk untuk Stasiun Cuaca ACU-RITE 02064C. ACU-RITE 02064C 13 halaman. Professional weather center

Set the Time, Date & Units
Press the "
" button, located on the front of the display unit, to enter SET
MODE. Once in set mode, the preference you are currently setting will blink on
the display.
To adjust the currently selected (flashing) item, press and release the "
"
" buttons (press and HOLD to fast adjust).
To save your adjustments, press and release the "
the next preference. The preference set order is as follows:
LANGUAGE (English, French, Spanish)
TIME ZONE (AST, EST, CST, MST, PST, AKST, HAST, NST, AEST, ACST, AWST)
AUTO DST CHANGE (YES, NO)
WEATHER TICKER SPEED (SLOW, MEDIUM, FAST)
CLOCK HOUR
CLOCK MINUTE
CALENDAR MONTH**
CALENDAR DATE**
CALENDAR YEAR
o
o
TEMPERATURE UNITS (
F or
C)
WIND SPEED UNITS (MPH, KPH, Knots)
RAINFALL UNITS (inches or mm)
PRESSURE UNITS (inHg or hPa)
*If you live in an area that observes daylight saving time, DST should be set to
YES, even if it is not currently Daylight Saving Time.
You will automatically exit SET MODE if no buttons are pressed for 20 seconds.
Enter setup mode at any time by pressing the "
Display Backlight Settings
This weather station's color display features three different lighting settings:
High (100%) brightness, Medium (60%) brightness and Low (15%) brightness.
Using battery power alone, the backlight is available momentarily for 10
seconds by pressing the " " button.
When display is powered with the power adapter, backlight remains on at
100% brightness. Press " " button once to dim to 60% brightness; press
again to dim to 15%, press a 3rd time to enter "AUTO DIM" mode. " " icon
appears to the left of the time to indicate that auto-dim mode is ON.
Automatically adjusts display brightness based on time of day.
AUTO DIM MODE:
6:00 a.m. - 9:00 p.m. = 100% brightness
9:01 p.m. - 5:59 a.m.= 15% brightness
" button again to adjust
" button.
10
Placement for Maximum Accuracy
AcuRite sensors are sensitive to surrounding environmental conditions. Proper
placement of both the display unit and the sensor are critical to the accuracy
and performance of this product.
" or
Display Unit Placement
Place the display unit in a dry area free of dirt and dust. To
ensure accurate temperature measurement, place out of direct
sunlight and away from heat sources or vents. Display unit stands
upright for tabletop use or is wall-mountable.
5-in-1 Sensor Placement
The 5-in-1 sensor is designed to remain outdoors all year long.
Choose an open location with no obstructions above or around
the sensor for the most accurate measurements.
Important Placement Guidelines
Display unit and sensor must be within 330 feet (100 meters) of each other.
MAXIMIZE WIRELESS RANGE
Place units away from large metallic items, thick walls, metal surfaces, or other
objects that may limit wireless communication.
PREVENT WIRELESS INTERFERENCE
Place units at least 3 feet (90 cm) away from electronic devices (TV, computer,
microwave, radio, etc.).
LOCATE AWAY FROM HEAT SOURCES
Position sensor away from heaters, air conditioners, chimneys, exhaust vents,
asphalt and concrete (surfaces that radiate heat).
LOCATE AWAY FROM HUMIDITY SOURCES
Avoid installing the sensor near pools, spas, or other bodies of water. Water
sources may impact humidity accuracy.
LOCATE AWAY FROM SPRINKLER HEADS
DO NOT install the sensor where it will be sprayed by a sprinkler system. This
may force water inside the sensor.
LOCATE AWAY FROM WIND & RAIN OBSTRUCTIONS
DO NOT mount the sensor with obstructions around it.
Consider a location that is a wide open area, with few
structures around to ensure accurate wind measurement.
Visit us online to view installation photos and
video, or learn more about AcuRite technology:
www.AcuRite.com/5in1
View Video
11
