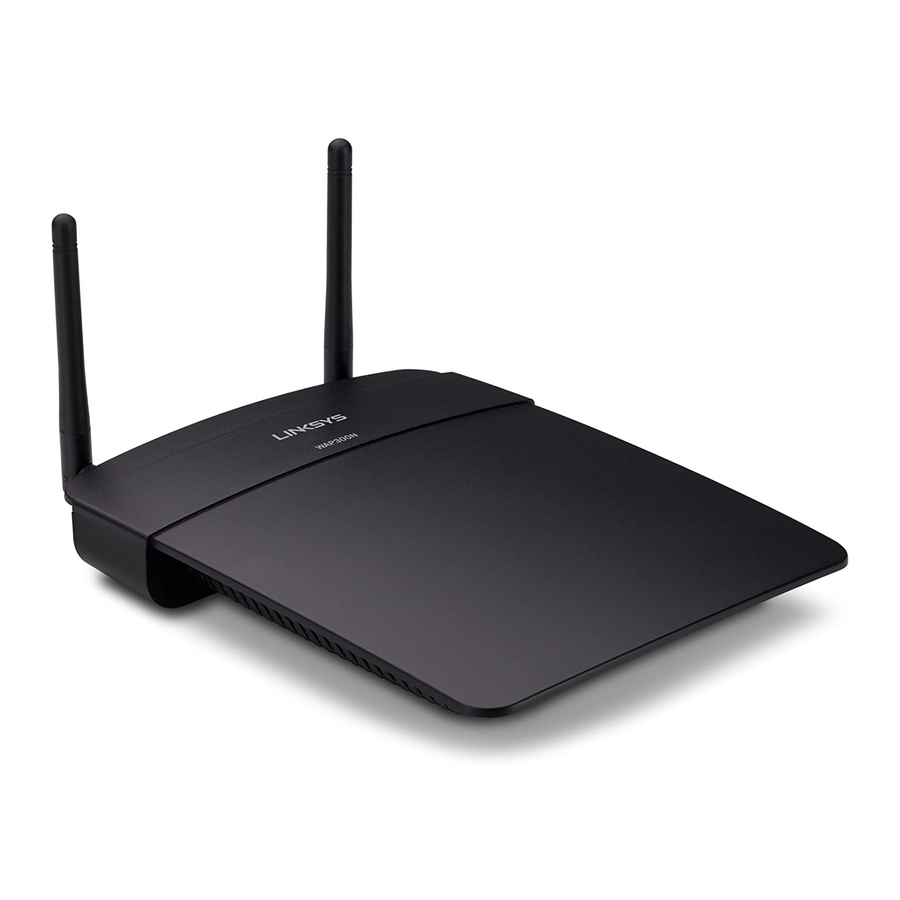
Cisco WAP300N Panduan Pengguna - Halaman 16
Jelajahi secara online atau unduh pdf Panduan Pengguna untuk Titik Akses Nirkabel Cisco WAP300N. Cisco WAP300N 30 halaman.
Juga untuk Cisco WAP300N: Manual (9 halaman)

Linksys WAP300N
Number of Wireless Networks—The number of wireless networks that
were detected
Wireless Network Name—The network name (SSID) of each discovered
wireless network
Signal—The percentage of signal strength
Security—The security method used by each wireless network If the
network supports Wi-Fi Protected Setup, the Wi-Fi Protected Setup icon
appears next to the security method
Refresh—Updates the on-screen information
3. To connect to a wireless network, select the network, then click Connect
A screen opens that shows you the network name (SSID) and security
mode of the selected wireless network Depending on the security mode
of the network, you may be asked to enter additional information (see
the following table)
Information
Security mode
Required
WPA/WPA2
Passphrase
Personal
Encryption
Key 1
WEP
Authentication
4. After you have entered all required information, click Connect to connect
to the network
Description
Enter the passphrase shared by this
device and your wireless router (or
access point)
Select a level of WEP encryption, 40 /
64-bit (10 hex digits) or 104 / 128-bit
(26 hex digits)
Enter the WEP key of your network
Key 1 is the transmit key used by this
device
The default is Auto, which allows
either open system or shared
key authentication to be used
Select Open to use open system
authentication (a WEP key is not used
for authentication) Select Shared to
use shared key authentication (a WEP
key is used for authentication)
How to use Wi-Fi Protected Setup
If your wireless router or access point supports Wi-Fi Protected Setup, you can
use it to easily connect your WAP300N to your wireless router or access point
You can use two methods for Wi-Fi Protected Setup:
Press the Wi-Fi Protected Setup button on each device
•
Enter the WAP300N's Wi-Fi Protected Setup PIN onto the router or access
•
point
To manually configure your network, see "How to manually set up your
WAP300N" on page 14)
How to connect to a router or access point using the Wi-Fi
Protected Setup button
Use this method to connect your WAP300N to a router or access point by
pressing buttons on the two devices
To connect to your router or access point using the Wi-Fi Protected
Setup button:
1. Press the Wi-Fi Protected Setup button on the back of the router or
access point
2. Within two minutes, press the Wi-Fi Protected Setup button on the
back of the WAP300N
Setting Up: Basics
13
