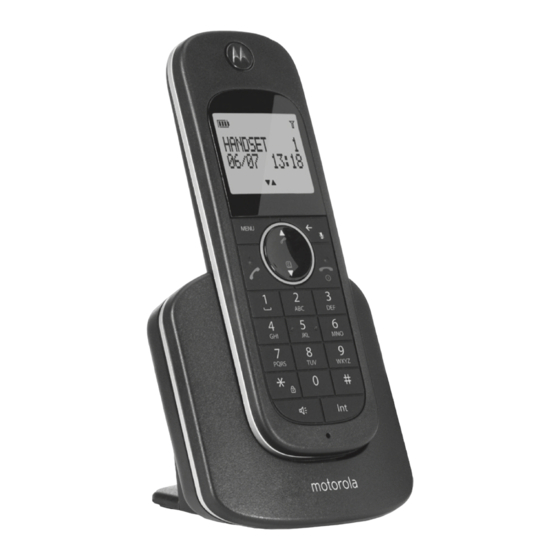
Motorola D1003 Panduan Pengguna - Halaman 23
Jelajahi secara online atau unduh pdf Panduan Pengguna untuk Telepon Tanpa Kabel Motorola D1003. Motorola D1003 26 halaman. Digital cordless phone
Juga untuk Motorola D1003: Panduan Pengguna (45 halaman), Panduan Pengguna (26 halaman), Panduan Pengguna (50 halaman)

Technical Information
How many telephones can I have?
All items of telephone equipment have a Ringer Equivalence Number (REN), which is used to
calculate the number of items which may be connected to any one telephone line. Your D1000 has a
REN of 1. A total REN of 4 is allowed. If the total REN of 4 is exceeded, the telephones may not ring.
With different telephone types there is no guarantee of ringing, even when the REN is less than 4.
Any additional handsets and chargers that you register have a REN of 0.
R&TTE
This product is intended for use within South Africa for connection to the public telephone network
and compatible switchboards.
This equipment complies with the essential requirements for the Radio Equipment and
Telecommunications Terminal Equipment Directive 1999/5/EC including compliance with ICNIRP
standard for electromagnetic energy exposure.
Connecting to a switchboard
This product is intended for use within South Africa for connection to the public telephone network.
Inserting a pause
With some switchboards, after dialling the access code you may have to wait for a moment while
the switchboard picks up an outside line so you will need to enter a pause in the dialing sequence.
#
Press and hold
to insert a pause (P) before entering the telephone number.
You may also need to enter a pause when storing international numbers or charge card numbers.
Recall
You may need to use the recall function if you are connected to a switchboard/PABX (Private
Automatic Branch Exchange), contact your PABX supplier for further information.
Wall mounting
11. Wall mounting
IMPORTANT
Before you wall-mount your D1000, check that you are not drilling into any hidden wiring or pipes.
Before you drill, make sure the power and telephone line cables will reach the sockets.
1. Use the following templates to mark the drilling locations.
• To wall-mount the base, drill two holes in the wall 4.5cm apart horizontally using an 8mm drill
bit.
• To wall-mount the charger, drill two holes in the wall 3.2cm apart horizontally using an 8mm drill
bit.
23
