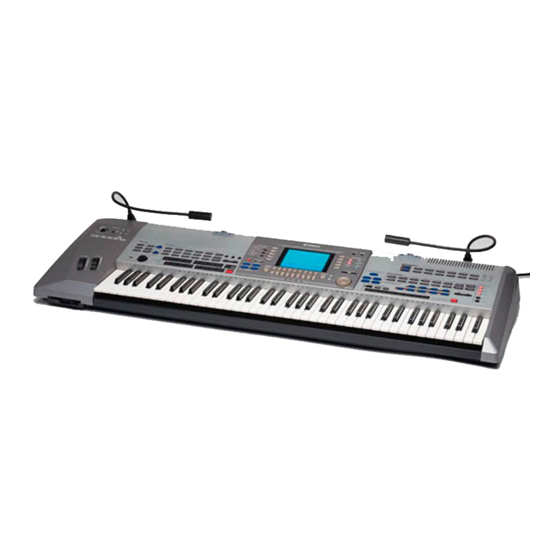
Yamaha 9000 Pro Panduan Servis - Halaman 10
Jelajahi secara online atau unduh pdf Panduan Servis untuk Alat Musik Yamaha 9000 Pro. Yamaha 9000 Pro 20 halaman. Professional workstation
Juga untuk Yamaha 9000 Pro: Panduan Pemilik (35 halaman)

9000 Pro
DISASSEMBLY PROCEDURE
1.
Bottom Assembly
1-1
Remove the thirty-one (31) screws marked [300A]
and the two (2) screws marked [340]. The bottom
assembly can then be removed. (Fig.1)
*1 Before removing the bottom assembly, it confirms
whether option goods (Plug-in boards, Hard disk unit)
are being inserted. When option goods are being
<Bottom view>
Plug-in Board Cover
*2 Work with being careful not to damage the body in the
part on the edge of the bottom assembly when you
remove and install the bottom assembly. (Be especially
careful not to scratch the body by two places of the
bottom assembly which showed it by the figure 2.)
*3 Before installing the bottom assembly, it confirms
whether it is being set so that three ferrite-cores (in figure
3) may not hit the center angle bracket.
2.
Circuit Boards and Unit
After removing the lower case, remove the following screws. Each circuit board and unit can then be removed. (Fig. 3)
Circuit Board & Unit
AM Circuit Board
PW Circuit Board
SCSI Circuit Board
Power Supply Assembly
10
(Time required: About 10 min.)
[300A] x 31
[80A] x 8
[80A]: Bonding Head Screw 3.0X6 MFZN2BL (VS863000)
[300A]: Bonding Tapping Screw-B 4.0X10 MFZN2BL (VJ254100)
[340]: Bonding Head Screw 3.0X6 MFZN2BL (VS863000)
(Time required: About 5 minutes each)
Ref. No.
[320A]
Bind Head Tapping Screw-B 3.0 X 6 MFZN2Y
[320B]
Bind Head Tapping Screw-B 3.0 X 6 MFZN2Y
[170]
Pan Head Screw 2.5 X 6 MFZN2BL
[310A]
Bonding Tapping Screw-B 3.0 X 8 MFZN2BL
inserted, remove the bottom assembly after you
disconnect the connectors which connect the 9000Pro
with the option goods.
Remove the eight (8) screws marked [80A], and
then remove the plug-in board cover. (Fig.1) It is
overturned, and the connectors are disconnected
from the option goods.
[340]
(Fig. 1)
Bottom Assembly
Screw
EP600130
EP600130
VS206600
VN413300
(Fig. 2)
Prat No.
QTY
4
2
2
5
