Alvin 2201 Series Petunjuk Perakitan dan Pemeliharaan
Jelajahi secara online atau unduh pdf Petunjuk Perakitan dan Pemeliharaan untuk Peralatan Alvin 2201 Series. Alvin 2201 Series 4 halaman. Parallel straightedge
Tools Required:
Phillips screwdriver and a drill with 1⁄16" bit
Parts Included:
B
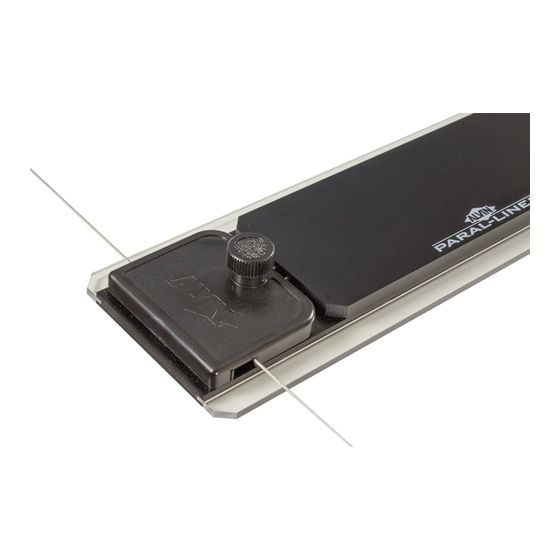
1pc Straightedge with Wire
E
1pc Right Rear
Wire Connector
To Assemble:
1
Verify that all parts shown in parts list are included.
Check that drawing board has a solid outer frame to hold
2
screws and that it is not warped. Alvin straightedges will
not work properly on warped boards.
Position front and rear wire connectors (C, D, E) on top
3
of drawing board as shown in Figure 1. Use chart below
to determine proper spacing. Center the straightedge (B)
on the board.
For
Straightedge
Dimension
Length
1
30"
27¾"
36"
33¾"
42"
39¾"
48"
45¾"
60"
57¾"
Mark screw positions for front and rear wire connectors
4
and pre-drill pilot holes about 1/4" deep using a 1/16"
drill bit. Use care not to drill through the board.
Wrap masking tape 1/4" from drill tip
TIP
to set drilling depth.
Fasten front wire connectors to front edge of board as
5
shown in Figure 2 using 3/4" screws (J). Fasten screws
half way. Do not fully tighten.
Parallel Straightedge
Assembly and Maintenance Instructions
A
1pc Spring
F
G
2pcs Rear
1pc Rear
Pulleys
Adjustment
Knob
Dimension
Dimension
2
3
28¾"
3/4"
34¾"
3/4"
40¾"
3/4"
46¾"
3/4"
58¾"
3/4"
C
2pcs Front
Wire Connectors
H
1pc 1/2"
Clinch Stud
3
D
Rear Wire Connectors
C
Front Wire Connectors
Figure 1
C
J
Figure 2
For model series
1101 and 2201
D
1pc Left Rear
Wire Connector
J
K
6pcs 3/4"
2pcs 3/8"
Screws
Washers
1
C
2
©2015 Alvin & CompAny, inC.
3
E
1