Gage Bilt GB722 Manuale di istruzioni originale - Pagina 9
Sfoglia online o scarica il pdf Manuale di istruzioni originale per Utensile elettrico Gage Bilt GB722. Gage Bilt GB722 20. Installation tool
Anche per Gage Bilt GB722: Manuale di installazione (13 pagine), Manuale di istruzioni originale (20 pagine)
WARNING:
Only qualified and trained operators shall install, adjust or use the assembly power tool for non-threaded
mechanical fasteners.
WARNING:
Operator
WARNING:
It is required that eye protection, hearing protection and safety boots be worn at all times while handling this
equipment.
WARNING:
The users or the user's employer must assess specific risks that could be present as a result after each use
based on their application.
●
Ensure there is adequate clearance for tool and operator's hands before proceeding. Keep fingers clear of any
moving parts. Keep fingers clear from fasteners and installed materials. Severe personal injury may result.
● Verify
●
Ensure that there are no electrical cables, gas pipes, etc., which can cause a hazard if damaged by the tool
WARNING:
Do not actuate fastener in the air. Personal injury from fastener ejecting may occur.
WARNING:
Air is exhausted from the bottom of the tool. Direct bottom of the tool (exhausted air) away from operator, other
persons working in the vicinity, foreign matter and liquid.
WARNING:
Do not carry from hoses or use as a hammer.
WARNING:
Do not use in explosive atmosphere.
WARNING:
Ensure air hose is securely connected to avoid possible hose whipping.
WARNING:
Always disconnect air supply when tool is not in use to prevent accidental start-up.
WARNING:
Ensure there is adequate clearance for tool and operator hands.
WARNING:
Incorrect stroke will damage the nose assembly.
WARNING:
Do not dry cycle or actuate tool without fastener in place. Damage to the nose assembly could occur.
CAUTION:
Do not use beyond the design intent.
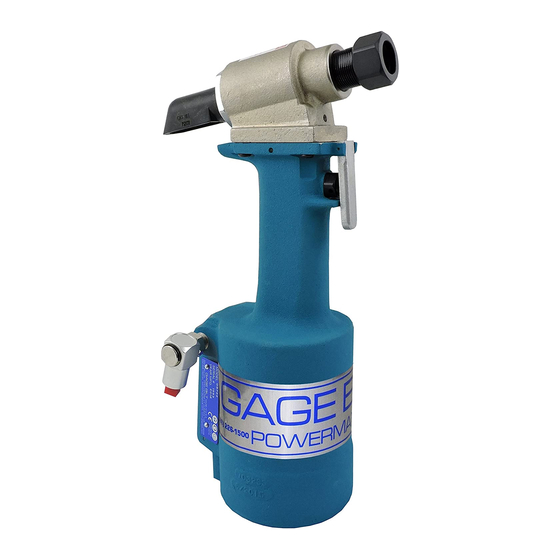
GB722/568 INSTALATION TOOL
HOW TO USE THE GB722/568
MUST
read and understand all warnings and cautions.
the air lines and/or hydraulic hoses are not a trip hazard.
1. Insert pin into hole. Mate free-running nut with pin and
tighten finger tight to contact material.
NOTE: If the collar has only one tapered end, that
end MUST be out toward tool, not next to sheet.
2. Apply light torque to nut to draw sheets together and
remove looseness from joint. (See fastener specs for
torque values).
3. Place installation tool on nut. (Internal stop automatically
positions crimp jaws).
NOTE: Hold tool at right angle (90°) to work.
4. Actuate installation tool to press crimp jaws into nut,
then release actuator.
5. Remove installation tool from assembled fastener.
6. Use GO-NOGO inspection gages to assure proper
crimping. GO-NOGO gages are available to assure
proper crimping. Contact Gage Bilt for information.
7. Repeat steps 1-6.
KRIMPNUTS
9
11/21 REV. 5/22