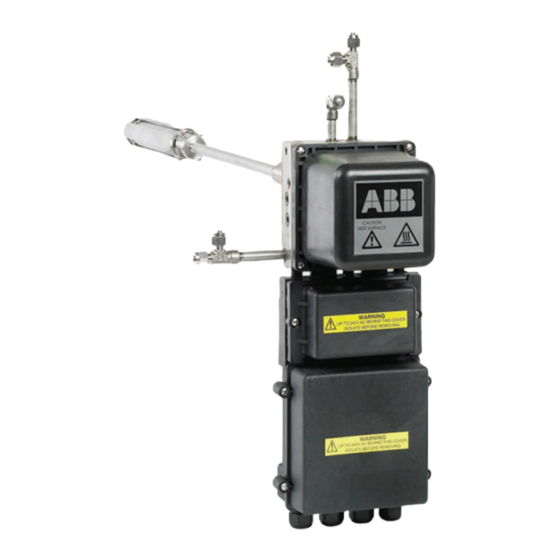
ABB Endura AZ40 Manuale - Pagina 14
Sfoglia online o scarica il pdf Manuale per Apparecchiature industriali ABB Endura AZ40. ABB Endura AZ40 16. Oxygen and carbon monoxide equivalent (coe) analyzer
Anche per ABB Endura AZ40: Istruzioni per l'uso (16 pagine), Manuale di istruzioni per l'uso (20 pagine)

8.4 Flange block thermocouple – T/C 2
Referring to Fig. 8.5:
1. Use a small flat-bladed screwdriver to depress the spring
connectors at terminal numbers 16 and 18 and disconnect
flange block thermocouple T/C 2 wires from top terminal
block connectors A.
2. Pull thermocouple (T/C2) wires up through (right) opening
B in flange block C.
3. Use a small flat-headed screwdriver to unscrew cartridge
heater / thermocouple retainer screw D and remove
cartridge heater / thermocouple retainer E. Retain items
for re-use.
Do not disturb cartridge heater F.
4. Withdraw thermocouple G (T/C 2) from flange block C
and discard the thermocouple.
5. Slide the new thermocouple (T/C 2) into its chamber in
flange block C.
6. Carefully form the thermocouple through 90 ° so it fits into
the groove in retainer E.
IMPORTANT (NOTE)
The retainer (E) at this position has a notch used
to guide / restrain the thermocouple. Only use the
retainer
from this position when fitting / replacing
thermocouple T/C 2.
7. Apply a small amount of anti-seize compound (suitable for
temperatures up to 200 °C [392 °F]) to the thread of
cartridge heater / thermocouple retainer screw D and use
a small flat-headed screwdriver to secure cartridge heater
/ thermocouple retainer E to flange block C.
14
INS/ANAINST/008-EN Rev. B | Endura AZ40 | Sensor assembly | Heater and thermocouple kit
8. Feed both thermocouple (T/C2) wires down through right
opening B in flange block C and make terminal block
connections at the top connectors A as follows:
— connect one wire from thermocouple T/C2 to
terminal 16.
— connect one wire from thermocouple T/C2 to
terminal 18.
9. Refit sensor covers – refer to Section 7.2, page 8.
