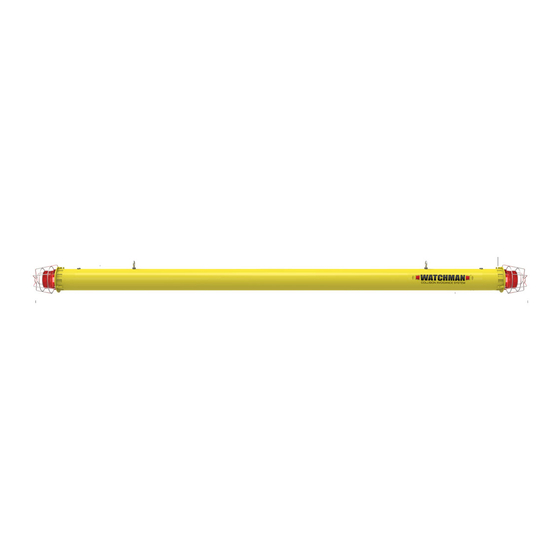
Alvarado WATCHMAN Manuale di istruzioni per l'installazione - Pagina 5
Sfoglia online o scarica il pdf Manuale di istruzioni per l'installazione per Tornelli Alvarado WATCHMAN. Alvarado WATCHMAN 10. Collision avoidance system

WATCHMAN Installation Instructions
Placement and Mounting (cont.)
NOTE
There are many methods of mounting the Watchman. The following instructions assume that the recommended
suspension hardware is being used. Instructions on the use of other suspension hardware and methods are outside
the scope of this manual.
Once the Watchman's placement has been determined:
1. Install eye bolts to the object(s) to which the Watchman will be suspended (joist, girder, etc).
2. Using ferrules and a ferrule crimper, secure suspension cables to the eye bolts [Figure 4].
3. Install (1) turnbuckle per suspension cable using ferrules and a ferrule crimper [Figure 5].
4. Attach suspension cables from the turnbuckles to the Watchman's eye bolts using ferrules and a ferrule crimper.
5. Using a level, check horizontal alignment of the Watchman. Adjust the height of the Watchman as needed using
the turnbuckles.
AC Power Connection
NOTE
AC power connection is applicable to AC-powered
models only. When connecting AC power, make
sure no batteries are installed.
1. Locate the AC power cord at the master side end cap
on the opposite end of the Watchman decal
[Figure 3].
2. Run the AC power cord up along the suspension
cable and swag it over to an adjacent wall. Make sure
there is sufficient cord slack to allow the Watchman to
move laterally in the case of a collision event
[Figure 6].
NOTE
The AC power cord is 50' in length.
3. Obtain the included AC power supply and screw
terminal connector. Locate the RED and BLACK
wires of the AC power cord. Using an appropriate
screwdriver, connect the RED wire to the (+) terminal,
and the BLACK wire the (–) terminal on the screw
terminal connector.
NOTE
The WHITE and GREEN wires bundled with the
AC power wires are used for dry contact output
(see next page). If you are not going to use the dry
contact output, ensure wires remain insulated.
4. Plug the power supply into a 120 VAC power outlet,
and to the screw terminal connector.
Created on: 06/26/2015
©Alvarado Mfg. Co., Inc.
Fig. 4
For Assistance: [email protected] (909) 591-8431
Fig. 5
Swag
Wall
Swagging the AC power cord
allows the Watchman to move
freely back and forth without
excessive strain on the cord.
Fig. 6
Page 5
PID1244R6-2
