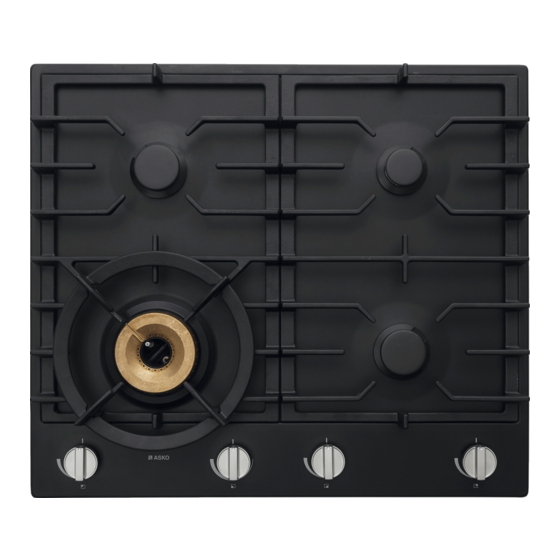
Asko HG1666AD Istruzioni per la conversione - Pagina 6
Sfoglia online o scarica il pdf Istruzioni per la conversione per Piano cottura Asko HG1666AD. Asko HG1666AD 9.

Conversion instruction
NOTE!
Press and open tap with thermo electric safety device and keep it pressed down.
2. Spray leakage test spray on the connections and check for gas tightness.
3. Repeat for every burner.
Check the gas tightness with the use of a pressure pump:
1. Connect the pressure pump to the opened testpoint adaptor and close the main gas valve and
all gas taps of the appliance.
2. Increase the pressure to 150 mbar and close the tap between the pressure pump and the
pressure gauge. Check the pressure. The maximum pressure drop is allowed up to 5 mbar per
minute. After checking, open the tap between the pressure pump and the pressure gauge. Open
one of the taps and close the corresponding injector.
NOTE!
Press and open a tap with thermo electric safety device and keep it pressed down.
3. Increase the pressure to 150 mbar and again close the tap between the pressure pump and the
pressure gauge. Check the pressure. The maximum pressure loss may amount to 5 mbar per
minute.
4. Repeat for every burner.
Final assembly
1. Replace gaskets on top of the burners.
2. Place the drip tray on the appliance starting with the front side. The hooks on the front of the
drip tray must be placed under the edge of the under tray. For enamelled drip trays, do not
forget to connect the earth cable to the drip tray.
3. Install the screws around the burner to secure the drip tray. For enamelled drip trays, use new
fiber rings under the screws.
4. Tighten the screws of the brackets at the underside of the appliance.
6
