- ページ 3
セキュリティシステム Abus Smartvest FUSG35000AのPDF マニュアルをオンラインで閲覧またはダウンロードできます。Abus Smartvest FUSG35000A 4 ページ。

1
1
2
Εξαρτήματα
Components
1. Επιλέξτε «Εξαρτήματα».
2. Επιλέξτε το σύμβολο συν (+)
στη νέα οθόνη.
1. Select „Components".
2. Select the plus symbol in the
new screen.
Όνομα
Name
3
1. Εισάγετε ένα όνομα.
2. Επιλέξτε το χώρο στον οποίο είναι
εγκατεστημένη η σειρήνα.
3. Επιλέξτε «Επόμενο».
1. Enter a name.
2. Select the room in which the
siren is installed.
3. Select „Next".
Σύνδεση
Connection
Η σύνδεση ξεκινά και εμφανίζεται η
οθόνη των εξαρτημάτων.
Connection is initiated and the
component screen is displayed.
5
3
7
2
1
9
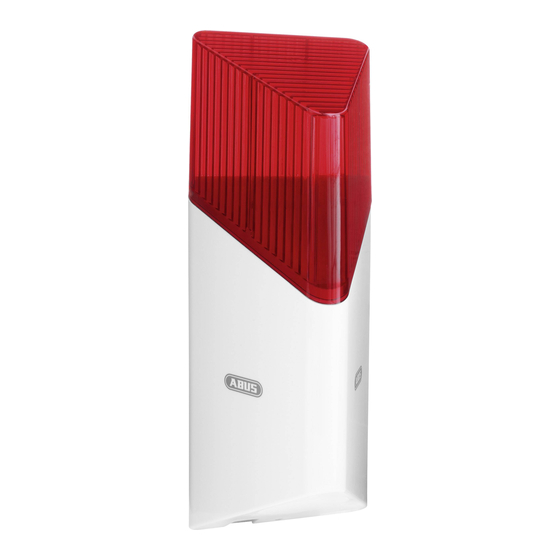
Επιλέξτε «Σειρήνα»
Select „Siren".
1. Αφαιρέστε το μαύρο ελαστικό
κάλυμμα από τη σειρήνα.
2. Ξεβιδώστε τις βίδες.
3. Επιλέξτε «Σύζευξη».
4. Αφαιρέστε τις πλαστικές ταινίες
από τη θήκη της μπαταρίας για να
ενεργοποιήσετε τη σειρήνα.
5. Στερεώστε τις βίδες και
επανατοποθετήστε το μαύρο
ελαστικό κάλυμμα πάνω στη
σειρήνα.
1. Remove the black rubber cap
from the siren.
2. Open the screws.
3. Select „Pair".
4. Remove the plastic strips from
the battery compartment to
activate the siren.
5. Fix the screws and put the
black rubber cap back onto
the siren.
1. Στερεώστε το στήριγμα σχήματος Α
στον τοίχο με 3 βίδες.
2. Τοποθετήστε τη σειρήνα στο
στήριγμα από την κορυφή (σημείο
στερέωσης 1) και πιέστε την προς τον
Click 1
τοίχο (σημείο στερέωσης 2). Η επαφή
προστασίας από παραβίαση (tamper)
είναι τώρα ενεργοποιημένη2 και
πρέπει να παραμείνει κλειστή.
3. Στερεώστε τη μικρή βίδα στο κάτω
μέρος του στηρίγματος.
1. Fix the A-shaped bracket to the
Click 2
wall with 3 screws.
2. Put the siren on the bracket
from the top (Click 1) and press
it towards the wall (Click 2). The
tamper contact is now activated
3
and has to remain closed.
3. Fix the small screw at the
bottom of the bracket.
Σειρήνα
Siren
6
Σύζευξη
Pair
8
Εγκατάσταση
Installation
2
10
