- ページ 7
クックトップ Gaggenau VG 414 210 AUのPDF 取扱説明書をオンラインで閲覧またはダウンロードできます。Gaggenau VG 414 210 AU 16 ページ。 Gas wok
Gaggenau VG 414 210 AU にも: 取付説明書 (12 ページ)
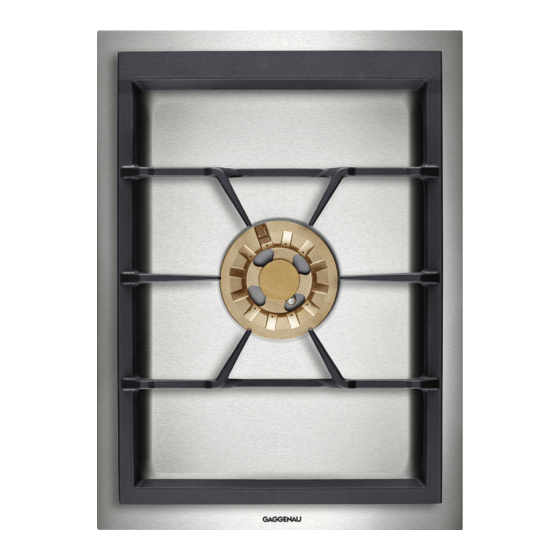
Burner assembly
Always assemble the burner parts correctly and evenly
to avoid faults during ignition or during use. When
assembling the burner parts, make sure that the
burner head is placed on the base in such a way that
the electrode is positioned in the opening on the
burner head. The catching pin on the burner ring must
fit in the corresponding groove on the burner head.
Wok burner assembly
Operation
The markings show the position of the corresponding
burner and the setting between high and low heat. The
flame setting is infinitely variable between high and
low heat.
Notes
‒
Only light a burner if all pan supports and burner
parts are properly assembled.
‒
Make sure the burners and electrodes are clean
and dry.
‒
Only use the recommended accessories. Do not
cover the stainless steel cooktop base (e.g. with
aluminium foil).
‒
Do not cover the air inlet at the back of the
cooktop.
Abnormal operation
Flames are usually blue and sharply defined. If the
flames are yellowish or noisy or if the gas does not
ignite within the period specified under "switching on"
abnormal operation is indicated. Refer to chapter
"After-sales service" of this manual for service contact
details.
Caution! Heat damage to the extractor hood: Always
switch on the extractor hood while the gas cooktop is
in use. When using several cooking positions select a
higher fan level on the extractor hood. Make sure there
is a sufficient ventilation of the room.
Switching on
Your cooktop features automatic fast ignition.
1
Place a suitable pot or pan on the pan support.
2
Press down the control knob and turn it
anticlockwise to the required position. The burner
lights automatically.
The flame size can be set continuously between high
and low by slowly turning the control knob.
Notes
‒
When using large pots or pans you should ignite
the burner in the low position.
‒
Every time the gas hob is switched on, the
electronics run an auto test. The electrode fires
and the burner ignites after a few seconds.
7