- ページ 6

プリンター Epson Artisan 700 SeriesのPDF クイック・スタート・マニュアルをオンラインで閲覧またはダウンロードできます。Epson Artisan 700 Series 8 ページ。 Using the control panel for wireless network installation
Epson Artisan 700 Series にも: ネットワーク・インストレーション・マニュアル (41 ページ), ユーザーマニュアル (11 ページ), 重要なセットアップ情報 (3 ページ), ユーザーマニュアル (34 ページ), ユーザーマニュアル (38 ページ), 仕様 (2 ページ), 製品サポート速報 (5 ページ), 機能マニュアル (28 ページ), よくある質問 (4 ページ)
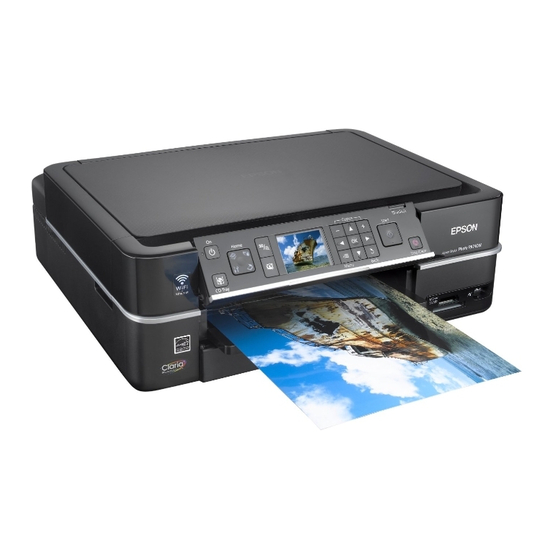
Epson Artisan 700 Series クイック・スタート・マニュアル
5
When prompted, connect a USB cable. Use any open USB port on your
computer.
Note:
If installation doesn't continue after a moment, make sure you
securely connected the USB cable and turned on the Artisan 700 Series.
6
Follow the on-screen instructions to install the rest of the software and
register your Artisan 700 Series.
Be sure to register your Artisan 700 Series to receive these great benefits:
2-year limited warranty and 2-year toll-free customer support.*
7
When you're done, remove the CD.
You're ready to go! Enjoy your Artisan 700 Series! See your Basics Guide or
on-screen Epson Information Center for instructions.
Macintosh
®
1
Make sure the Artisan 700 Series is NOT CONNECTED to your computer.
2
Insert the Artisan 700 Series software CD.
3
Double-click the
4
Click Install and follow the on-screen instructions.
5
When you see this screen, select Install driver for direct USB
connection and then click Next.
6
When prompted, connect a USB cable. Use any open USB port on your
computer. Make sure the Artisan 700 Series is securely connected and
turned on.
Mac OS X 10.5 users: skip to step 9. Other users: continue with step 7.
Epson icon.