- ページ 36

会議システム Cisco TelePresence DX70のPDF ユーザーマニュアルをオンラインで閲覧またはダウンロードできます。Cisco TelePresence DX70 40 ページ。 Nhs networked use
Cisco TelePresence DX70 にも: インストレーション・マニュアル (6 ページ), ユーザーマニュアル (48 ページ), クイック・リファレンス・マニュアル (2 ページ), ユーザーマニュアル (48 ページ), ユーザーマニュアル (33 ページ), ユーザーマニュアル (14 ページ), マニュアル (43 ページ), ケアホームでの使用 (3 ページ), セッティング (2 ページ)
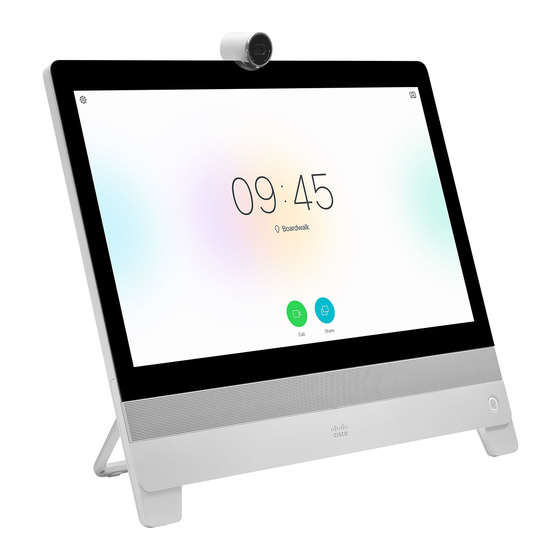
Cisco TelePresence DX70 ユーザーマニュアル
Camera Control

Move the Selfview PiP

1
Tap and hold the selfview image.
3
Drag the image to a new position, shown here is the
upper left corner.
D1510418 User Guide
Cisco TelePresence DX70, DX80
Produced: June 2017 for CE9.0
All contents © 2010–2017
Cisco Systems, Inc. All rights reserved.
2
You will now see the alternate positions
available for the selfview image. Keep holding
the image.
4
Release the image by lifting your finger from the
screen. The selfview image has now assumed its
new position.
36

Why Move the Selfview?

Selfview shows what others see from
your video system. You will normally
use it to confirm that they see what
you want them to see.
The selfview appears as a PiP
(Picture-in-Picture).
From time to time you may want to
have the selfview activated during the
meeting. This could, for example, be
to ensure that you remain seen on the
screen.
It may happen that the current position
of the selfview blocks important parts
of the image on your screen. You may
therefore want to move it.