- ページ 17

カメラレンズ Nikon D200のPDF ユーザーマニュアルをオンラインで閲覧またはダウンロードできます。Nikon D200 19 ページ。 Exploring
Nikon D200 にも: パンフレット&スペック (13 ページ), パンフレット (7 ページ), セットアップマニュアル (2 ページ), パンフレット&スペック (18 ページ), パンフレット (14 ページ), 仕様 (2 ページ), 特徴と比較表 (1 ページ), 仕様 (2 ページ), 操作マニュアル (23 ページ), クイック・スタート・マニュアル (2 ページ), マニュアル (25 ページ), クイック・スタート・マニュアル (9 ページ)
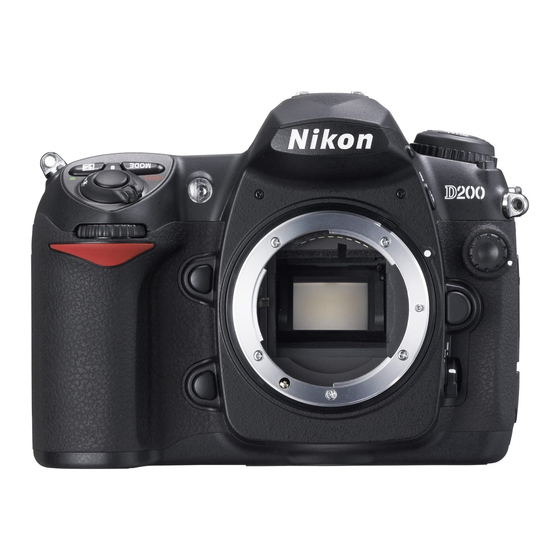
Nikon D200 ユーザーマニュアル
When taking shots at depths deeper than 3 meters, the use of a "flash" is
necessary to regain the natural colours. The Nikon D200 can be combined
with a flash in 3 modes:
Manual flashes: using this mode, the power of the flash can be adjusted.
The camera will direct and synchronise the flash by means of the X-contact.
The result obtained can be observed on the LCD-screen. In case of an over-
or underexposure, the power of the flash or the distance to the subject has
to be adjusted and a new shot has to be made.
Autonomous flashes: some flashes have a light sensor which registers the
light reflected on the subject. When this sensor registers enough light, it
will automatically shut down the flash. Only by means of the diaphragm,
the flash light can be limited. To obtain a correct simulation, the diaphragm
used on the camera has to be adjusted on the flash. In case of an under- or
overexposure, a higher or lower value of the diaphragm has to be adjusted
on the flash.
TTL flashes: using this mode, camera and flash communicate and set the
right values of diaphragm and shutter speed to obtain the correct amount of
light needed for the shot. This mode can only be obtained by using a Nikon
D200 compatible flash or by installing the optional TTL converter.
Hugyfot Housing for
Nikon D200
17
User manual