- ページ 4
ウェザーステーション Aercus WS2083のPDF ユーザーマニュアルをオンラインで閲覧またはダウンロードできます。Aercus WS2083 18 ページ。 Professional wireless weather station with usb upload

Important Notes
System Start
Insert two LR6 (AA size) batteries into the transmitter. The LED located in the middle on the front of the
transmitter will illuminate for 4 seconds then go off. The transmitter will make an initial data transmission
and then start the radio controlled time reception routine. If the time signal can be detected correctly the
LED will flash 5 times and then remain on for 20s, indicating the time signal has been found correctly (note no
time signal is available in Aus/NZ). When reception of the time signal is not possible the transmitter will
terminate radio controlled time reception after no more than five minutes and resume normal transmission.
During the radio controlled time reception period there is no transmission of the outdoor weather data to the
console.
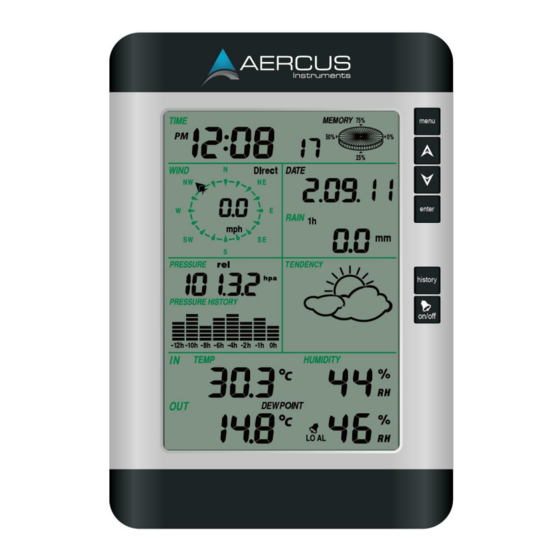
Insert two LR6 (AA size) batteries into the Base Station. The console will illuminate for a few seconds with all
the display segments illuminated for checking. After this the Base Station will make an initial measurement
and start to register the transmitter (the Outdoor Reception Signal icon will be turned on). Do not touch the
Base Station before the outdoor data is received or the outdoor sensor learning mode will be terminated.
When the outdoor transmitter has been registered the Base Station will automatically switch to the normal
display mode from which all further settings can be adjusted by the user.
If no radio controlled clock (RCC) signal is detected during the initial setup, the transmitter will try once every
hour to get the RCC signal until a signal is received. Once the transmitter receives the RCC signal it will
transmit the signal to the Base Station which will display the Radio Controlled Clock icon and the time will
synchronise to the RCC time. If the Base Station does not receive the RCC signal or loses the signal the RCC
icon will not be displayed.
Positioning
Once you have verified that all of the components of the weather station are working they can be positioned
in their permanent places. Before permanently mounting make sure that all the components work properly
together at their chosen mounting or standing locations. If there appear to be problems with the 433 MHz
radio transmission they can mostly be overcome by moving the mounting locations.
Note: The radio communication between the receiver and transmitter in an open field can reach a distance of
up to 100m providing that there are no interfering obstacles such as buildings, trees, vehicles, high
voltage lines, etc. Radio interferences such as PC screens, radios or TV sets, can in bad cases entirely
cut off radio communication. Please take this into consideration when choosing standing or mounting
locations.
Reconnecting Lost Signal
If no outdoor weather data is displayed as a result of loss of signal during set up, mounting, changing of
batteries in the transmitter or plugging or unplugging cables, simply press and hold the DOWN key for 4
seconds then release. After this the Base Station will make an initial measurement and start to register the
transmitter (the Outdoor Reception Signal icon will be turned on). Do not touch the Base Station before the
outdoor data is received (this may take several minutes) or the outdoor sensor learning mode will be
terminated. When the outdoor transmitter has been registered the Base Station will automatically switch to
the normal display mode from which all further settings can be adjusted by the user.
Note: When replacing batteries in the transmitter wait two minutes before re-inserting for a proper reset.
Wind Direction
On the edge of the wind direction sensor, there are four letters - "N", "E", "S" and "W" representing the
directions North, East, South and West. The wind direction sensor has to be adjusted so that the directions on
the sensor are matching your real location. A permanent wind direction error will be introduced when the
WS2083
- 4 -
