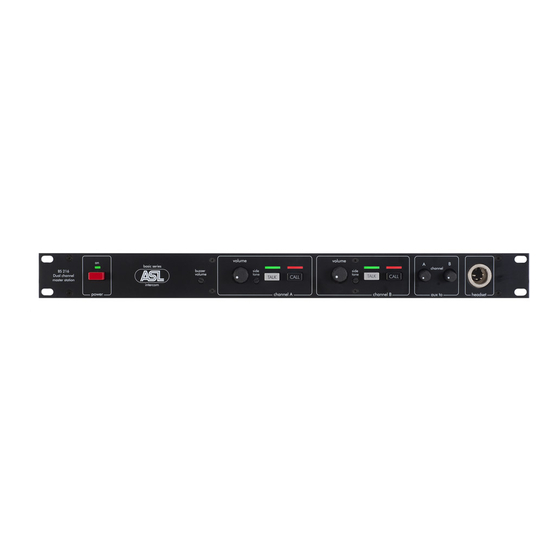
ASL INTERCOM BS 216 사용자 설명서 - 페이지 5
{카테고리_이름} ASL INTERCOM BS 216에 대한 사용자 설명서을 온라인으로 검색하거나 PDF를 다운로드하세요. ASL INTERCOM BS 216 11 페이지. Dual channel master station
ASL INTERCOM BS 216에 대해서도 마찬가지입니다: 사용자 설명서 (9 페이지), 빠른 매뉴얼 (4 페이지)

6.0
REAR PANEL CONTROLS & CONNECTORS
10 A & B line connectors
These XLR-3 type connectors are for connecting the
remote-stations, via standard microphone cable.
There are two connectors for channel A and two
connectors for channel B.
Pin assignments:
1. 0 V / ground shield
2. +30 V power wire
3. audio wire
11 AUX INPUT connector
This XLR-3 type aux input is electronically balanced
and accepts audio levels between -16dBu to +22dBu
on line leve, and -38dBu to +2dBu on mic level.
Pin assignments :
1. 0V / ground
2. Signal +
3. Signal -
When mic level is selected, a +30V DC phantom
power is supplied to pins 2 and 3. The mic gain can be
adjusted with the trimmer.
12 FUSE
This fuse protects the BS 216 against severe internal
damage, in case of malfunction in the power section.
To remove the fuse the mains cord must be removed.
It is most important to place the correct fuse in the
holder :
mains voltage
100 - 240 VAC T 1250 mA
Spare fuses will be found in the small packet supplied
with the unit.
7.0
INTERNAL CONTROLS
MIC GAIN
The mic gain can be adjusted internally by a trimmer
located on the pcb near to the headset connections.
4
fuse
13 MAINS INLET
IEC Mains connector. For correct wiring and operation
refer to section 4.0.
Before you plug in the mains voltage, check if:
The fuse is correct
User Manual BS 216 / Issue 1 © 1998 ASL Intercom, Utrecht, Holland.
WARNING
