Advanced Elements AE2042 사용 설명서 - 페이지 9
{카테고리_이름} Advanced Elements AE2042에 대한 사용 설명서을 온라인으로 검색하거나 PDF를 다운로드하세요. Advanced Elements AE2042 13 페이지. Accessory frame system

TM
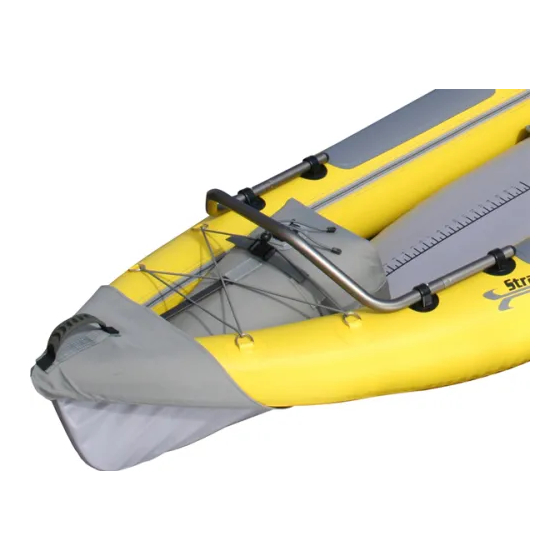
6. Position the Accessory Frame where you would like it on your kayak
and rotate the grommets as necessary to conform to the contours of
the boat. Use a pencil to trace around the disk portion of the four
Mounting Grommets. NOTE: Make sure to also mark the notches that
you cut into the grommets in step 1, this is very important for proper
alignment of the grommets when gluing them to your boat!
NOTE: The Accessory Frame should be placed with the ends of the
frame arms facing towards the seating position of the kayak.
NOTE: When placing your Accessory Frame on your kayak, keep in
mind your paddle stroke (so the frame will not get in the way), and
any potential positioning that may prevent you from easily entering
and exiting your kayak.
7. Once you have marked the Mounting Grommet placement on your
boat, remove the grommets from the Accessory Frame and set the
Accessory Frame aside.
8. Starting with ONE Mounting Grommet at a time: In a well-ventilated
area, apply enough glue to the bottom side of the Mounting Grommet
disk to spread around so that the glue is evenly applied on the disk.
9. Choose one of the four marked out grommet placements on your
kayak, apply a thin layer of glue and spread it around to cover the
marked out area. Proceed to apply the Mounting Grommet to the
surface of the kayak, making sure that you have aligned the notch in
your grommet to the notch mark that you made on the kayak.
10. Apply constant pressure for a few minutes to allow for the glue to set.
11. Apply duct tape around the perimeter of the grommet. Make sure to
apply the duct tape so that it flattens out the grommet disk.
12. Repeat steps 7-11 for the next three Mounting Grommets.
13. After gluing and taping all four Mounting Grommets, leave the glue
to cure for at least 12 hours before installing the Accessory Frame for use.
14. Once the glue has dried, remove the duct tape, install the Accessory
Frame, and you are ready to go!
8
