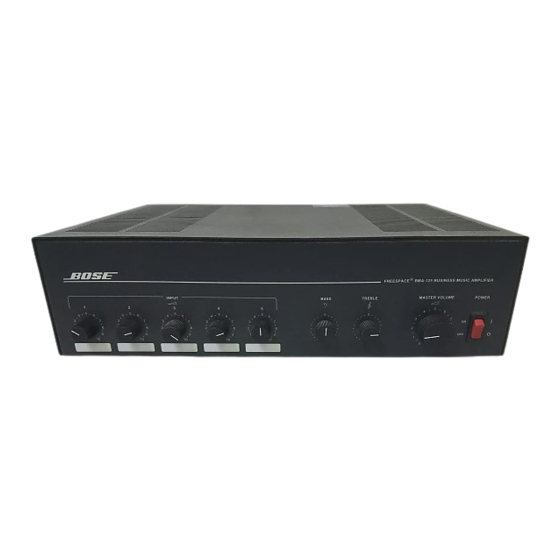
Bose FREESPACE BMA-125 서비스 매뉴얼 - 페이지 13
{카테고리_이름} Bose FREESPACE BMA-125에 대한 서비스 매뉴얼을 온라인으로 검색하거나 PDF를 다운로드하세요. Bose FREESPACE BMA-125 49 페이지. Business music amplifier 120/230v

General Test Setup
Connect a 4Ω, 5Ω, 8Ω and 40Ω 200W load
to the 4, 5, 8, and 40Ω outputs respectively.
Disconnect J1 (located at the equalizer
PCB) and add a jumper from pin 1 (yellow)
to pin 3 (violet) of the J1 connector. This
will bypass the internal equalizer.
Set the tone controls to the center (flat)
position unless otherwise noted.
1. Controls
1.1 Adjust Input Five to the full clockwise
position. Adjust the tone controls to their
center (flat) position and all other volume
controls to their full counter clockwise
position.
1.2 Apply a 100mVrms, 1KHz signal to
Input Five.
1.3 Using the Master volume control,
adjust the output across the 4Ω load to
1Vrms. Reference a dB meter to the
output.
1.4 Apply a 100mVrms, 85 Hz signal to
Input Five. Rotate the bass control to the
full counter clockwise position. Measure the
output. It should be -3 dB
1.5 Rotate the bass control to the full
clockwise position. Measure the output. It
±
should be 3 dB
1dB.
1.6 Apply a 100mVrms, 10KHz signal to
Input Five. Rotate the treble control to the
full counter clockwise position. Measure the
output. It should be -3.5 dB
1.7 Rotate the treble control to the full
clockwise position. Measure the output. It
±
should be 3.2 dB
1 dB.
BMA-125 120V Test Procedures
±
1dB.
±
1 dB.
Ω
2. 4
Output
Note: Remove the "4Ω" to "PRI" jumper.
Connect a 4Ω load between "COM" and
"4Ω".
2.1 Apply a 105Vrms, 1KHz signal to Input
Five. Adjust Input Five to full output at the
4Ω output (just before clipping).
2.2 Measure the voltage at the output. It
≥
should be
24Vrms.
2.3 Measure the distortion. It should be
< 0.5%.
2.4 With the 4Ω output adjusted to
24Vrms, reference a dB meter to the
output.
Measure the response according to the
following table.
Frequency
Output
(dB)
20 Hz
1 KHz
20 KHz
Ω
3. 8
Output
Note: Place a jumper between the output
connector labeled "4Ω" and the output
connector labeled "PRI". Connect an 8Ω
load to the 8Ω output and the terminal
marked lo.
3.1 Apply a 120 mVrms, 1KHz signal to
Input Five. Adjust Input Five to full output at
the 8Ω output (just before clipping).
3.2 Measure the voltage at the 8Ω output.
≥
It should be
32Vrms.
3.3 Measure the distortion. It should be
< 0.5%.
3.4 With the 8Ω output adjusted to
31 Vrms, reference a dB meter to the
output. Measure the response according to
the following table.
13
Tolerence
(dB)
0
-2
ref
-
0
-1.5
