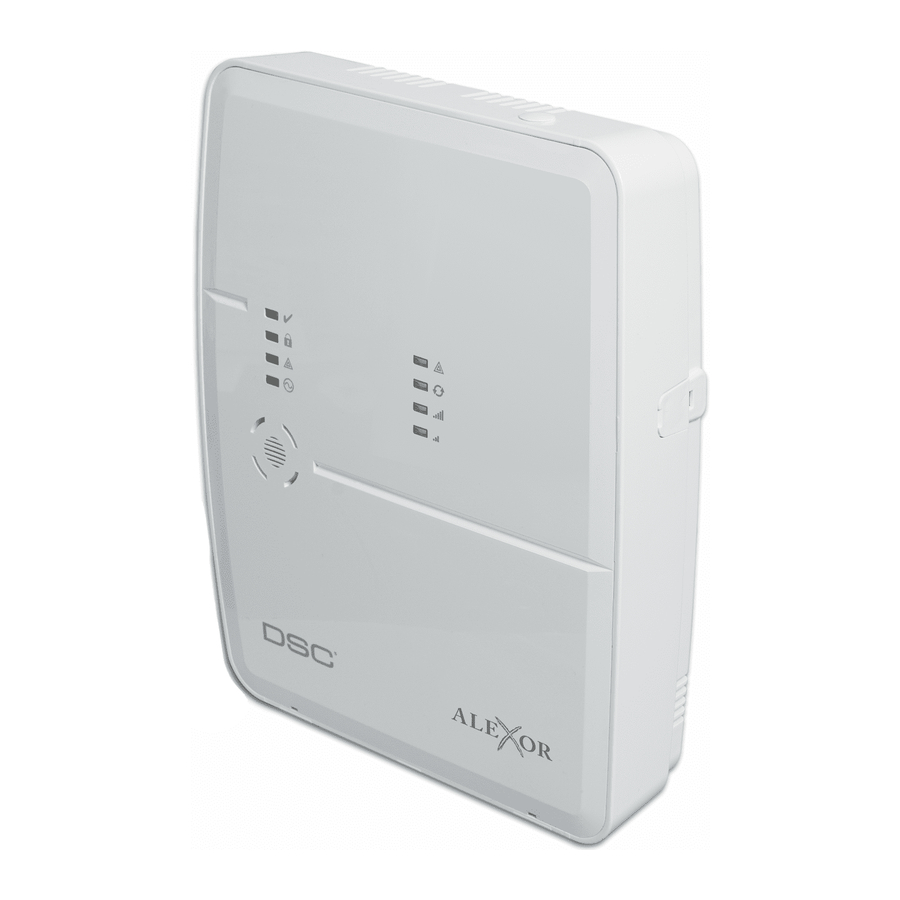
DSC IMPASSA 프로그래밍 매뉴얼 - 페이지 3
{카테고리_이름} DSC IMPASSA에 대한 프로그래밍 매뉴얼을 온라인으로 검색하거나 PDF를 다운로드하세요. DSC IMPASSA 5 페이지. Self-contained 2-way wireless security system
DSC IMPASSA에 대해서도 마찬가지입니다: 빠른 시작 설치 매뉴얼 (2 페이지)

Created by:
So for our sample kit we would enter everything in order of what we are working with.
Enter *8-5555-001-01-88-03-05 and at the end of the zone definitions we will hit # # #
to exit.
Shutting Off Unused Zones (Program Section 202, 203, or 204)
Since we are using only four (4) zones, we will need to shut off the remaining zones that
are not being used. Each wireless device is a zone, with the exception of sirens and key
fobs.
• If you are using less than eight (8) zones use programming section 202
• If you are using nine (9) or more, but less than 16 zones, use programming section
203 (add eight to each numbered zone to get that zone. Example: 1, 2, 3, 4, 5
would be zones 9, 10, 11, 12, 13)
• If you are using 17 or more, but less than 24 zones, use programming section 204
(add 16 to each numbered zone to get that zone. Example: 1, 2, 3, 4, 5 would be
zones 17, 18, 19, 20, 21)
In our Sample Alarm, we are only using four (4) zones. This means we will enter into
Programming Section 202 and turn off zones 5, 6, 7, and 8. We do this simply by
pressing each number that needs to be turned off.
Here is what we would enter using the sample kit:
*8-5555-202-5-6-7-8 and then # # to exit
Wireless Enrollment Mode (Program Section 898),
Enter Programming *8-5555- Enter section 898.
Each wireless device needs to be recognized by the control panel. We call this
Enrollment. For this Section we will be triggering (open/close or tamper) each device. If
the devices are in front of you, you will take the magnet (small piece) away from the
transmitter (bigger piece) and put back together. The system will beep and the display
panel will ask you to Confirm the ESN number by pressing the (*) button.
So to begin lets start with zone 01 which is the Front Door. We will open the front door.
The panel will ask to confirm the ESN number. We will then hit (*). The system will
now ask for the Zone # and we will refer to our chart and enter (01) and confirm by
hitting (*). The system will then ask for the Zone Type (definition) and we will refer to
our chart and enter (01) and confirm by hitting (*).
The display will then be ready to enroll the next device. You continue to enroll each
device by opening each sensor or tampering with the device (this will vary depending on
your device) and you will need to enter the correct zone #'s and zone Type (definitions).
When you are ready to enroll your motion sensors, you will then put the battery in the
sensor. The light on the sensor will flash for one minute. Once the light finishes
flashing, then you want to move the motion around or wave your hand in front of it to
trigger it. This will send the ESN number to the panel. After enrolling the motion
Created by:
sensor, place it face down so it cannot be accidentally triggered again during enrollment.
Alarm System Store
Alarm System Store
http://alarmsystemstore.com
http://alarmsystemstore.com
