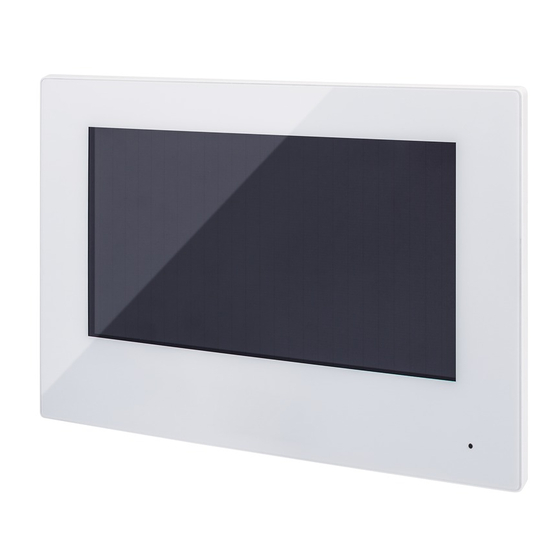
Abus TVHS20200 빠른 매뉴얼
{카테고리_이름} Abus TVHS20200에 대한 빠른 매뉴얼을 온라인으로 검색하거나 PDF를 다운로드하세요. Abus TVHS20200 2 페이지. 7" poe touch monitor, lan/wifi for intercom white

Lieferumfang • Scope of delivery • Contenu de
la livraison • Leveromvang • Levering
QUICK
1×
GUIDE
Quick
Guide
1×
T VH S 2 02 0 0
1×
7" PoE Touch Monitor
weiß, LAN/WiFi für Tür-
sprechanlage
7" PoE Touch Monitor, LAN/
Benötigtes Zubehör • Required accessories •
WiFi for Intercom (white)
Accessoires requis • Benodigde accessoires •
Moniteur tactile PoE 7"
Påkrævet tilbehør
blanc, LAN / WiFi pour
interphone de porte
7" PoE Touch Monitor
wit, LAN / WiFi voor
deurintercom
7" PoE Touch Monitor
hvid, LAN / WiFi til
TVHS20000
dørintercom
1×
Empfohlenes Zubehör • Recommended
accessories • Accessoires recommandés •
Aanbevolen accessoires • nbefalet tilbehør
ITAC10100
1×
ABUS Security Center
GmbH & Co. KG
Linker Kreuthweg 5
86444 Affing
Germany
TVHS20330
1×
abus.com
1×
1
1×
1×
1
3
TVHS20320
1×
5
7
6
5
2
4
Installation
Installation
Aufputz
Aufputz
Installation
Installation
surface
surface
mount
mount
2
Installation
Installation
Aufputz
Aufputz
Installation
Installation
surface
surface
mount
mount
4
Installation
Aufputz
Installation
surface
mount
3
1.
Bildschirm
2.
Mikrofon
3.
Netzwerkanschluss
4.
Lautsprecher
5.
Slot für MicroSD-Karte
6.
Eingänge für Klingeltaster
7.
Reserviert
8.
Anschluss Stromversorgung
(bei Betrieb ohne PoE)
1.
Screen
2.
Microphone
3.
Network Interface
4.
Loudspeaker
5.
MicroSD Card Slot
6.
Inputs for bell buttons
7.
Reserved
8.
Power Terminal
8
1.
Scherm
2.
Microfoon
3.
Netwerken
4.
Spreker
5.
MicroSD-kaartsleuf
Installation
Unterputz
Installation
flush mount
1
Installation
Unterputz
Installation
flush mount
3
Installation
Unterputz
Installation
flush mount
5
Beschreibung
6.
Ingangen voor belknoppen
TVHS20130
7.
Gereserveerde
8.
Voedingsaansluiting
Overview
(bij gebruik zonder PoE)
TVHS20130
1.
écran
2.
Microphone
3.
Mise en réseau
4.
Haut-parleur
5.
Emplacement pour carte MicroSD
6.
Entrées pour boutons cloche
7.
Réservé
8.
Connexion d'alimentation
(en fonctionnement sans PoE)
1.
Skærm
2.
Mikrofon
3.
Netværk
4.
Højttaler
5.
MicroSD-kortslot
6.
Indgange til klokkeknapper
7.
Reserveret
8.
Strømforsyningstilslutning
(når du betjener uden PoE)
Installation
Unterputz
Installation
flush mount
2
Installation
Unterputz
Installation
flush mount
4
