Great Lakes MINISTAR S 운영 매뉴얼 - 페이지 10
{카테고리_이름} Great Lakes MINISTAR S에 대한 운영 매뉴얼을 온라인으로 검색하거나 PDF를 다운로드하세요. Great Lakes MINISTAR S 13 페이지.
Great Lakes MINISTAR S에 대해서도 마찬가지입니다: 문제 해결 및 제작 팁 (2 페이지)
Heating Cycle
There are two options to program the heating times:
A
A
A
A
B B
B
A
A
C
B
C
When constructing an orthodontic retainer, the pellets
placed against the occlusal-incisal margin cover the wax
holding the wires facially and act as an insulator when the
heated material is formed.
Improper packing of a model can cause a blowout, air leak,
or machine malfunction. It is important that there is no
sudden drop of the pellet margin at the inner cup wall, or
that the model is not positioned too high or low within the
cup. This allows the material to be overstretched, thinning
it to where a hole is created and air blows through.
In some instances, an air leak could cause inferior material
adaptation that can result in a poorly fitted appliance.
Mounted models should be splitcast. If the model cannot be
removed from the mounting, the pellet level will need to be
at a slight incline to appliance termination areas.
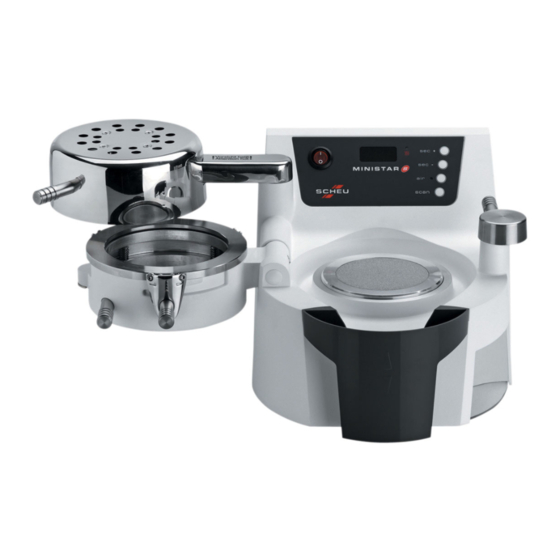
1.) Manual Entry:
•
Press the Power Switch (A) of the MiniSTAR S to activate
the machine.
•
Press the Time Button (B) to manually set the time. Using
the keypad, input the appropriate heating time (following
manufacturer's suggested heating time) for the material
to be thermal formed.
•
Press the Code portion of the Code/Scan Button (C) if you
wish to manually set both the heating and cooling times.
Note: During long heating cycles or continual use,
the lamp can become extremely hot.
- Caution is advised to prevent skin burns -
10