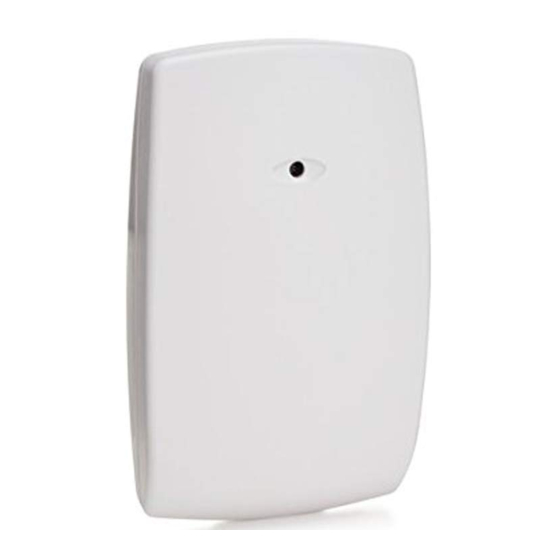
ADEMCO FlexGuard 5853 설치 지침
{카테고리_이름} ADEMCO FlexGuard 5853에 대한 설치 지침을 온라인으로 검색하거나 PDF를 다운로드하세요. ADEMCO FlexGuard 5853 2 페이지. Wireless glassbreak detector

)OH[*XDUG
5853 Wireless Glassbreak Detector Installation Instructions
Refer to Supplemental Information (next page) for complete descriptions of these installation steps
5853 Glassbreak Detector Internal Parts
Latch
Mounting Hole
Front Tamper Switch
Microphone
Wall Tamper (behind battery)
Sensitivity Switches
Batteries
Test Mode pads (on PCB)
Mounting Hole
LED Indicators
Front Cover
Break out flash
for cover screw
Connect Batteries
Remove pull tab to connect batteries
Select Mounting Location
Wall Mount
(Top View)
Avoid mounting within
0.3m (1 ft.) of a corner
Ceiling Mount: (Side View)
5-051-735-00BX
Set Sensitivity (Range)
SENS1 & SENS2 configure sensitivity
SENSITIVITY
APPROXIMATE
MAX
25 ft (7.6m)
MEDIUM
15 ft (4.6m)
LOW
LOWEST
5 ft (1.5m)
Enroll Detector
Refer to text and control panel's installation
instructions.
When programming the transmitter, specify:
•
Input Type = 3 (Supervised RF)
•
Loop Number = 1
Mount Detector
•
Use mounting holes as a template to mark
mounting locations on ceiling or wall.
•
If using the optional wall tamper, remove
the batteries, then mark the rear tamper
location through its mounting hole.
•
Mount detector using appropriate hardware.
•
Close detector cover when finished.
#6 x 1-1/2"
#6 x 1-1/2"
Test Detector Installation
Enter Test Mode using GBS-7 (see text). To enter
Test Mode manually, short Test Mode pads (as below).
WallMount_001-V0
TEST
CeilingMount_001-V0
ON
OFF
SENS1
SENS2
RANGE
OFF
OFF
ON
OFF
10 ft (3m)
OFF
ON
ON
ON
#6 x 1"
Optional Tamper Screw
TEST
Page 1
Install Cover Screw (optional)
®
5853_006-V0
