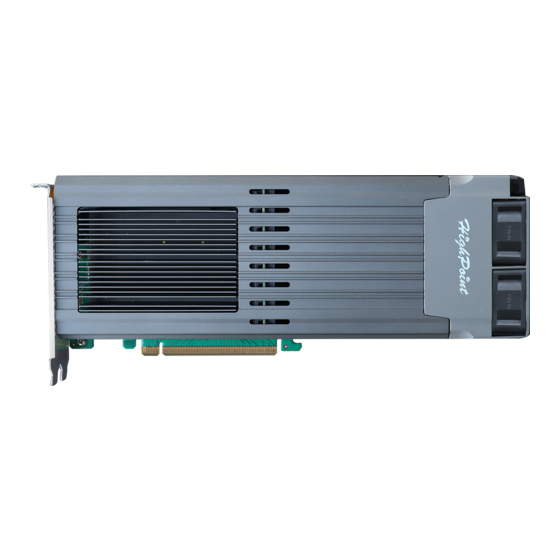
HighPoint SSD7105 설치 매뉴얼 - 페이지 7
{카테고리_이름} HighPoint SSD7105에 대한 설치 매뉴얼을 온라인으로 검색하거나 PDF를 다운로드하세요. HighPoint SSD7105 19 페이지. Using nvme raid aics with the dell precision 3930 rack workstation
HighPoint SSD7105에 대해서도 마찬가지입니다: 설치 매뉴얼 (16 페이지), 빠른 설치 매뉴얼 (8 페이지), 매뉴얼 사용 (19 페이지)
HighPoint NVMe Boot RAID Windows Installation Guide
How to install Windows to the NVMe product
Method 1 UEFI Command Line (RAID Tool)
Step 1 - Preparing the USB Flash Drive
When preparing the USB flash dive, make sure to format the USB partition as FAT32. If another
file system is used, the USB drive may not be properly recognized, and will not appear as an
option under the motherboard's UEFI BIOS menus.
Step 2 - Preparing the UEFI Package
The package must be unzipped directly to the root of the bootable USB flash drive (do not extract
the contents to a new folder). All of the following items must be present in the root of the USB
flash drive.
Example screenshot
Note:
the picture is only for reference, please make the object as the standard.
Note:
If the above content is not present in the root directory, the UEFI boot device will
not be properly recognized, and or you will be unable to create an array for OS
installation.
Step 3 – Creating the RAID Array
Note:
RocketAIC 7505HW series, RocketAIC 7540HW series and RocketAIC 7749EW series NVMe drives
are already pre- configured with RAID0. You can skip this step. If you want to use another type of RAID for
Boot-RAID, you can refer to the following steps.
a. This procedure assumes you have already installed NVMe SSD's into the NVMe product.
(please see Step 1- Prerequisites).
b. Insert the bootable USB flash drive into the motherboard and boot the system.
c. Enter the motherboard's BIOS settings, and select the UEFI: "flash drive" from the menu.
d. At the prompt, enter the following command to change the resolution:
mode 100 31
7