AlkaViva The ionpia H2 소유자 매뉴얼 - 페이지 10
{카테고리_이름} AlkaViva The ionpia H2에 대한 소유자 매뉴얼을 온라인으로 검색하거나 PDF를 다운로드하세요. AlkaViva The ionpia H2 13 페이지.
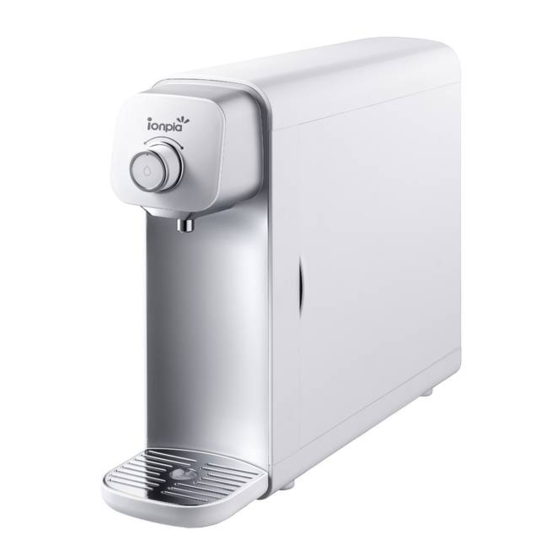
4
Operation
Note: If your ionpia H is connected directly to your cold water
line, skip step 1 and start at step 2.
1. Turn your tap water onto cold, then turn the lever on your
diverter valve. This will divert the water from the tap to The ionpia
H
. At this point, check all connections for leaks,
2
tighten or re-seat if needed. If the diverter is leaking at the
faucet, use Teflon tape.
2. Place your glass under The ionpia H
flow control knob to the right to start water flow.
3. It is important to flush the filters before you start drinking the
water, after initial installation or filter replacement.
Do this by running water through the unit for several
minutes (or just until it is clear) and discard the water.
* Some discoloration can be expected but may not always be
present when flushing the filters.
5
Replacing your lters
Replacing your filters in a timely manner as recommended by the manufacturer is very important
for optimum hydrogen production as well as producing the healthiest, contaminant-free water.
• DO NOT disconnect any of the fittings or plumbing inside of The ionpia H
necessary and will void your valuable warranty.
• Be sure to change the filters one at a time as they need to be installed in the correct
position.
The filters ARE NOT INTERCHANGEABLE.
1. Turn off source water either at your tap or at the Angle Stop Adapter.
2. Place a container under the water dispenser and turn flow control knob to the right to start
the flow of water and remove any residual water inside your ionpia H .
3. Open Filter Cover.
water outlet and turn the
2
Page 10
H
HYDROGEN GENERATOR
. This is not
2
2